
Organization
Use Organization for workspace-level setup.
The current page combines:
- organization naming
- team member management
- document export templates
Open Organization Settings
Open the shared workspace settings
Organization is where you manage the shared workspace, not one product.
- In the left sidebar, click Organization.
- Confirm that you are in the correct organization from the top bar.
- Use the top section for the organization name.
- Use My team for people and roles.
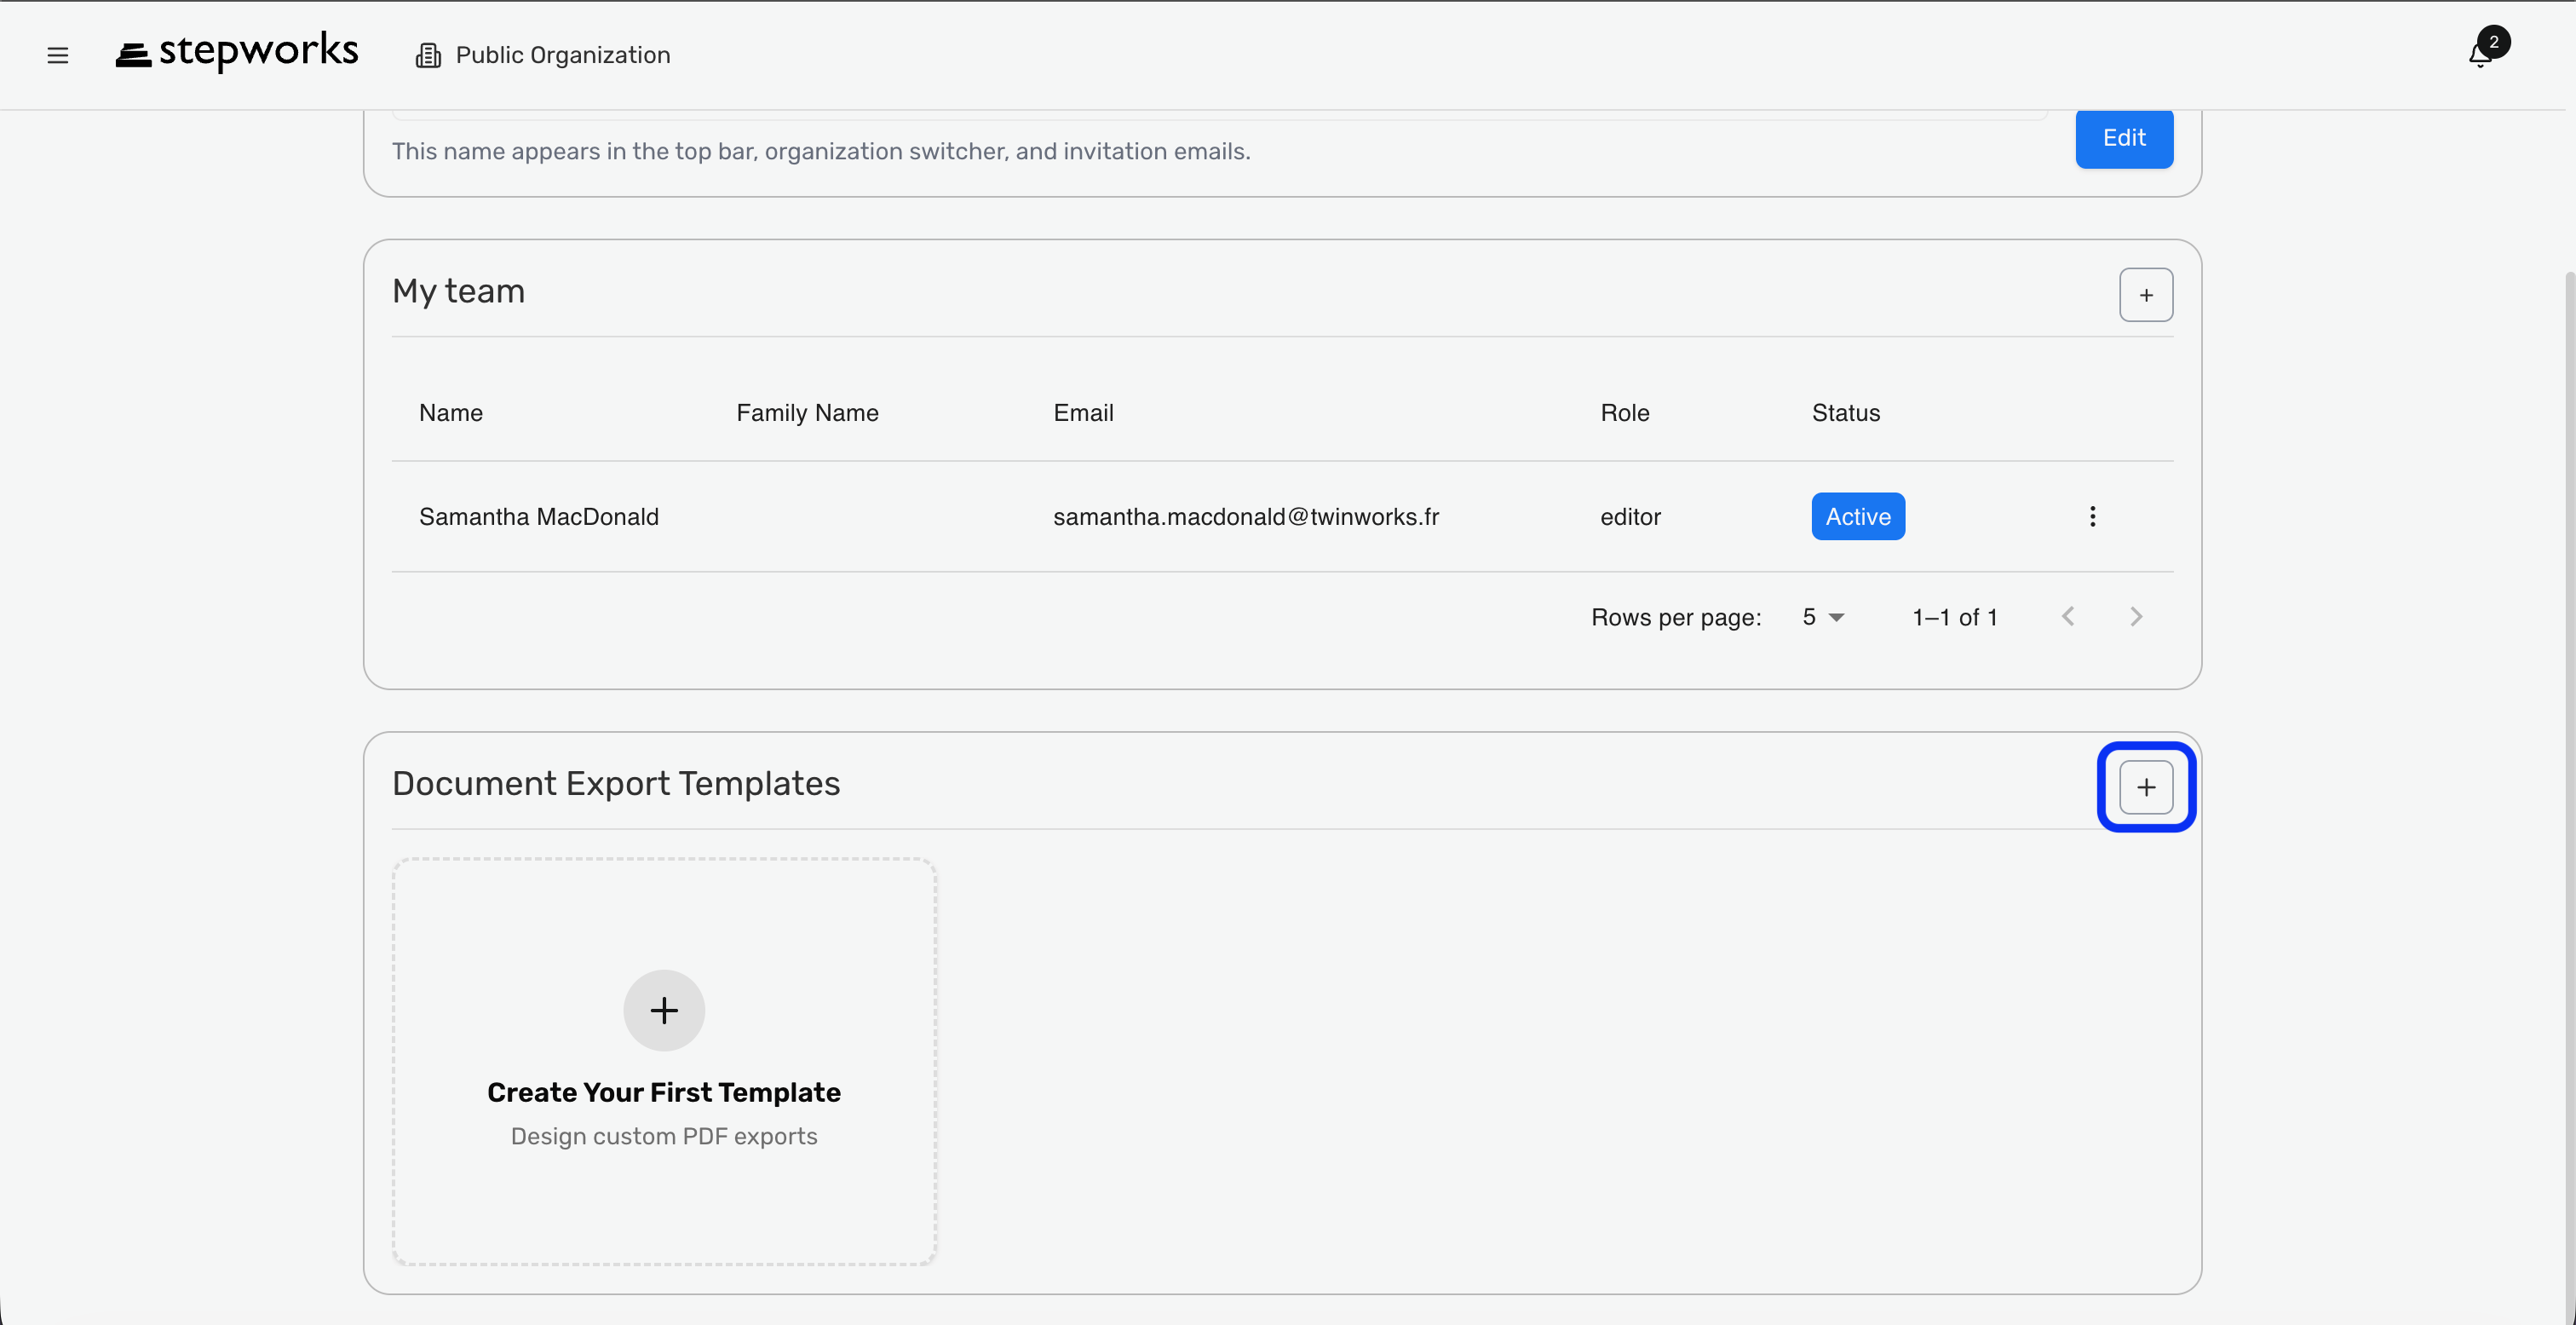
- Use Document Export Templates for export layout setup.
If a new client workspace needs its own team and its own export template, do that in Organization before authors start publishing procedures.
Change The Organization Name
Rename the organization
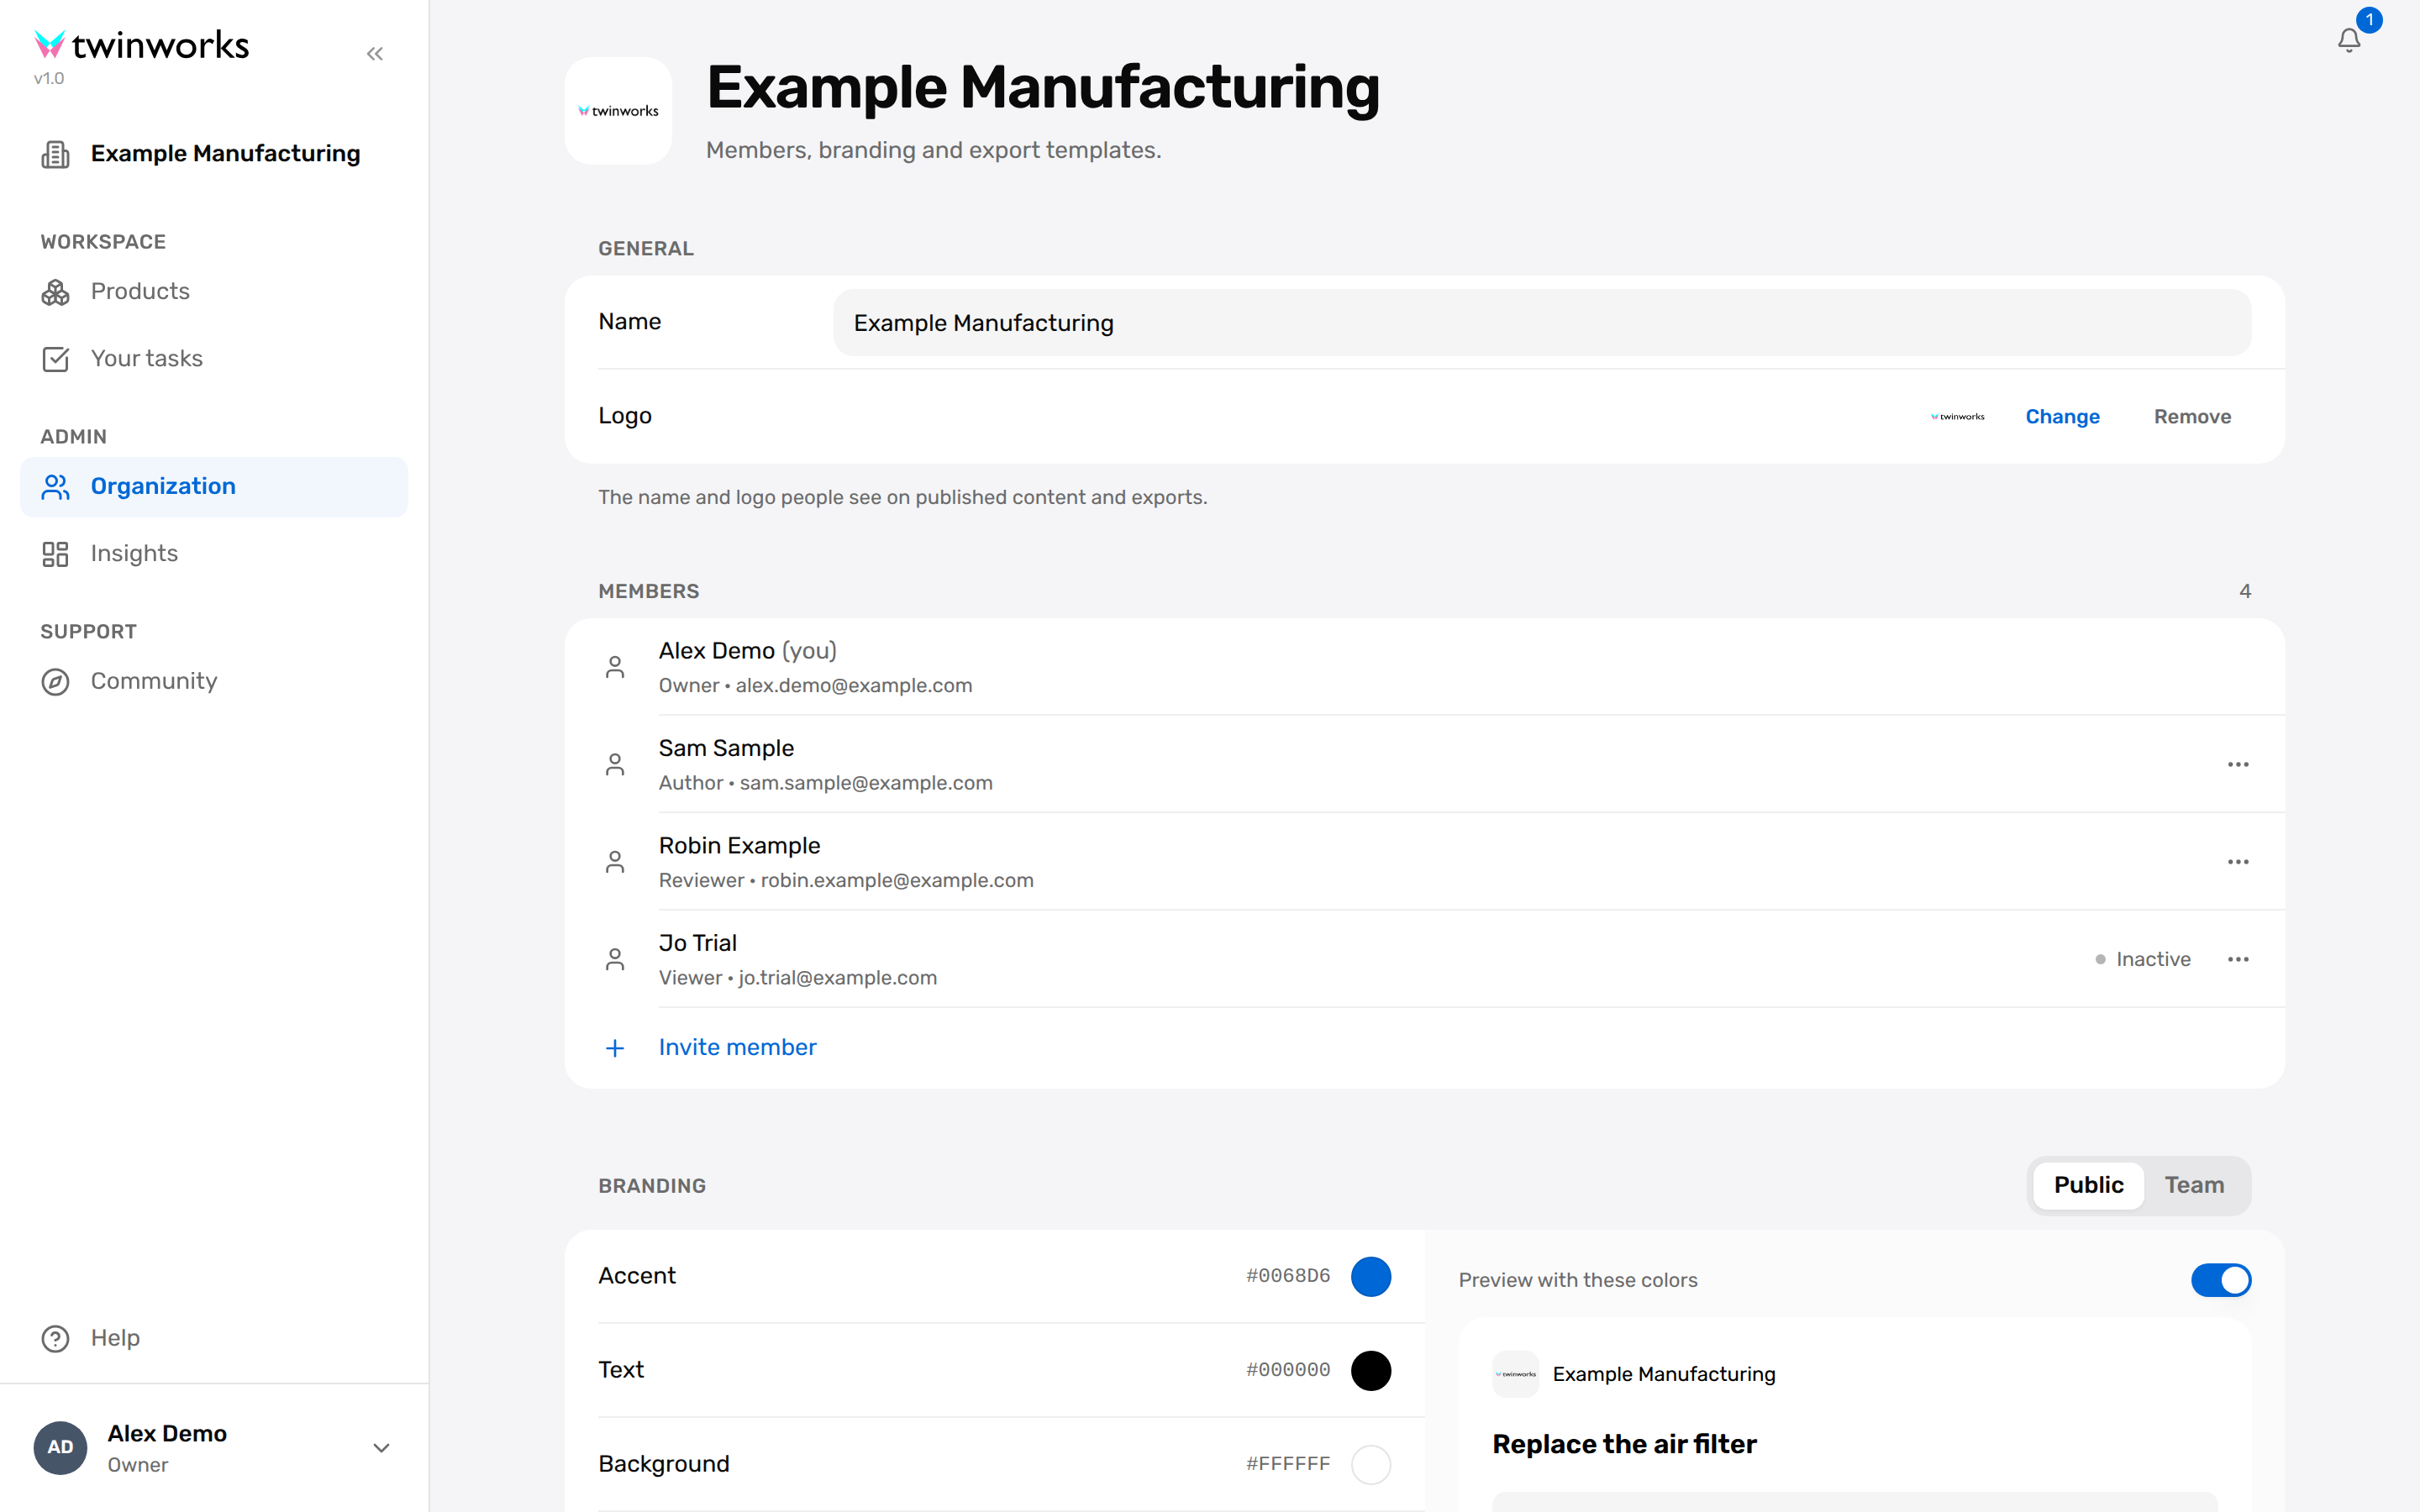
The organization name is reused in the top bar, the organization switcher, and invitation emails.
- Open Organization.
- In the organization name section, click Edit.
- Enter the new name.
- Click Save.
Change ACME Pilot Workspace to ACME Manufacturing before inviting external users so the workspace name matches the real deployment.
Manage Team Members
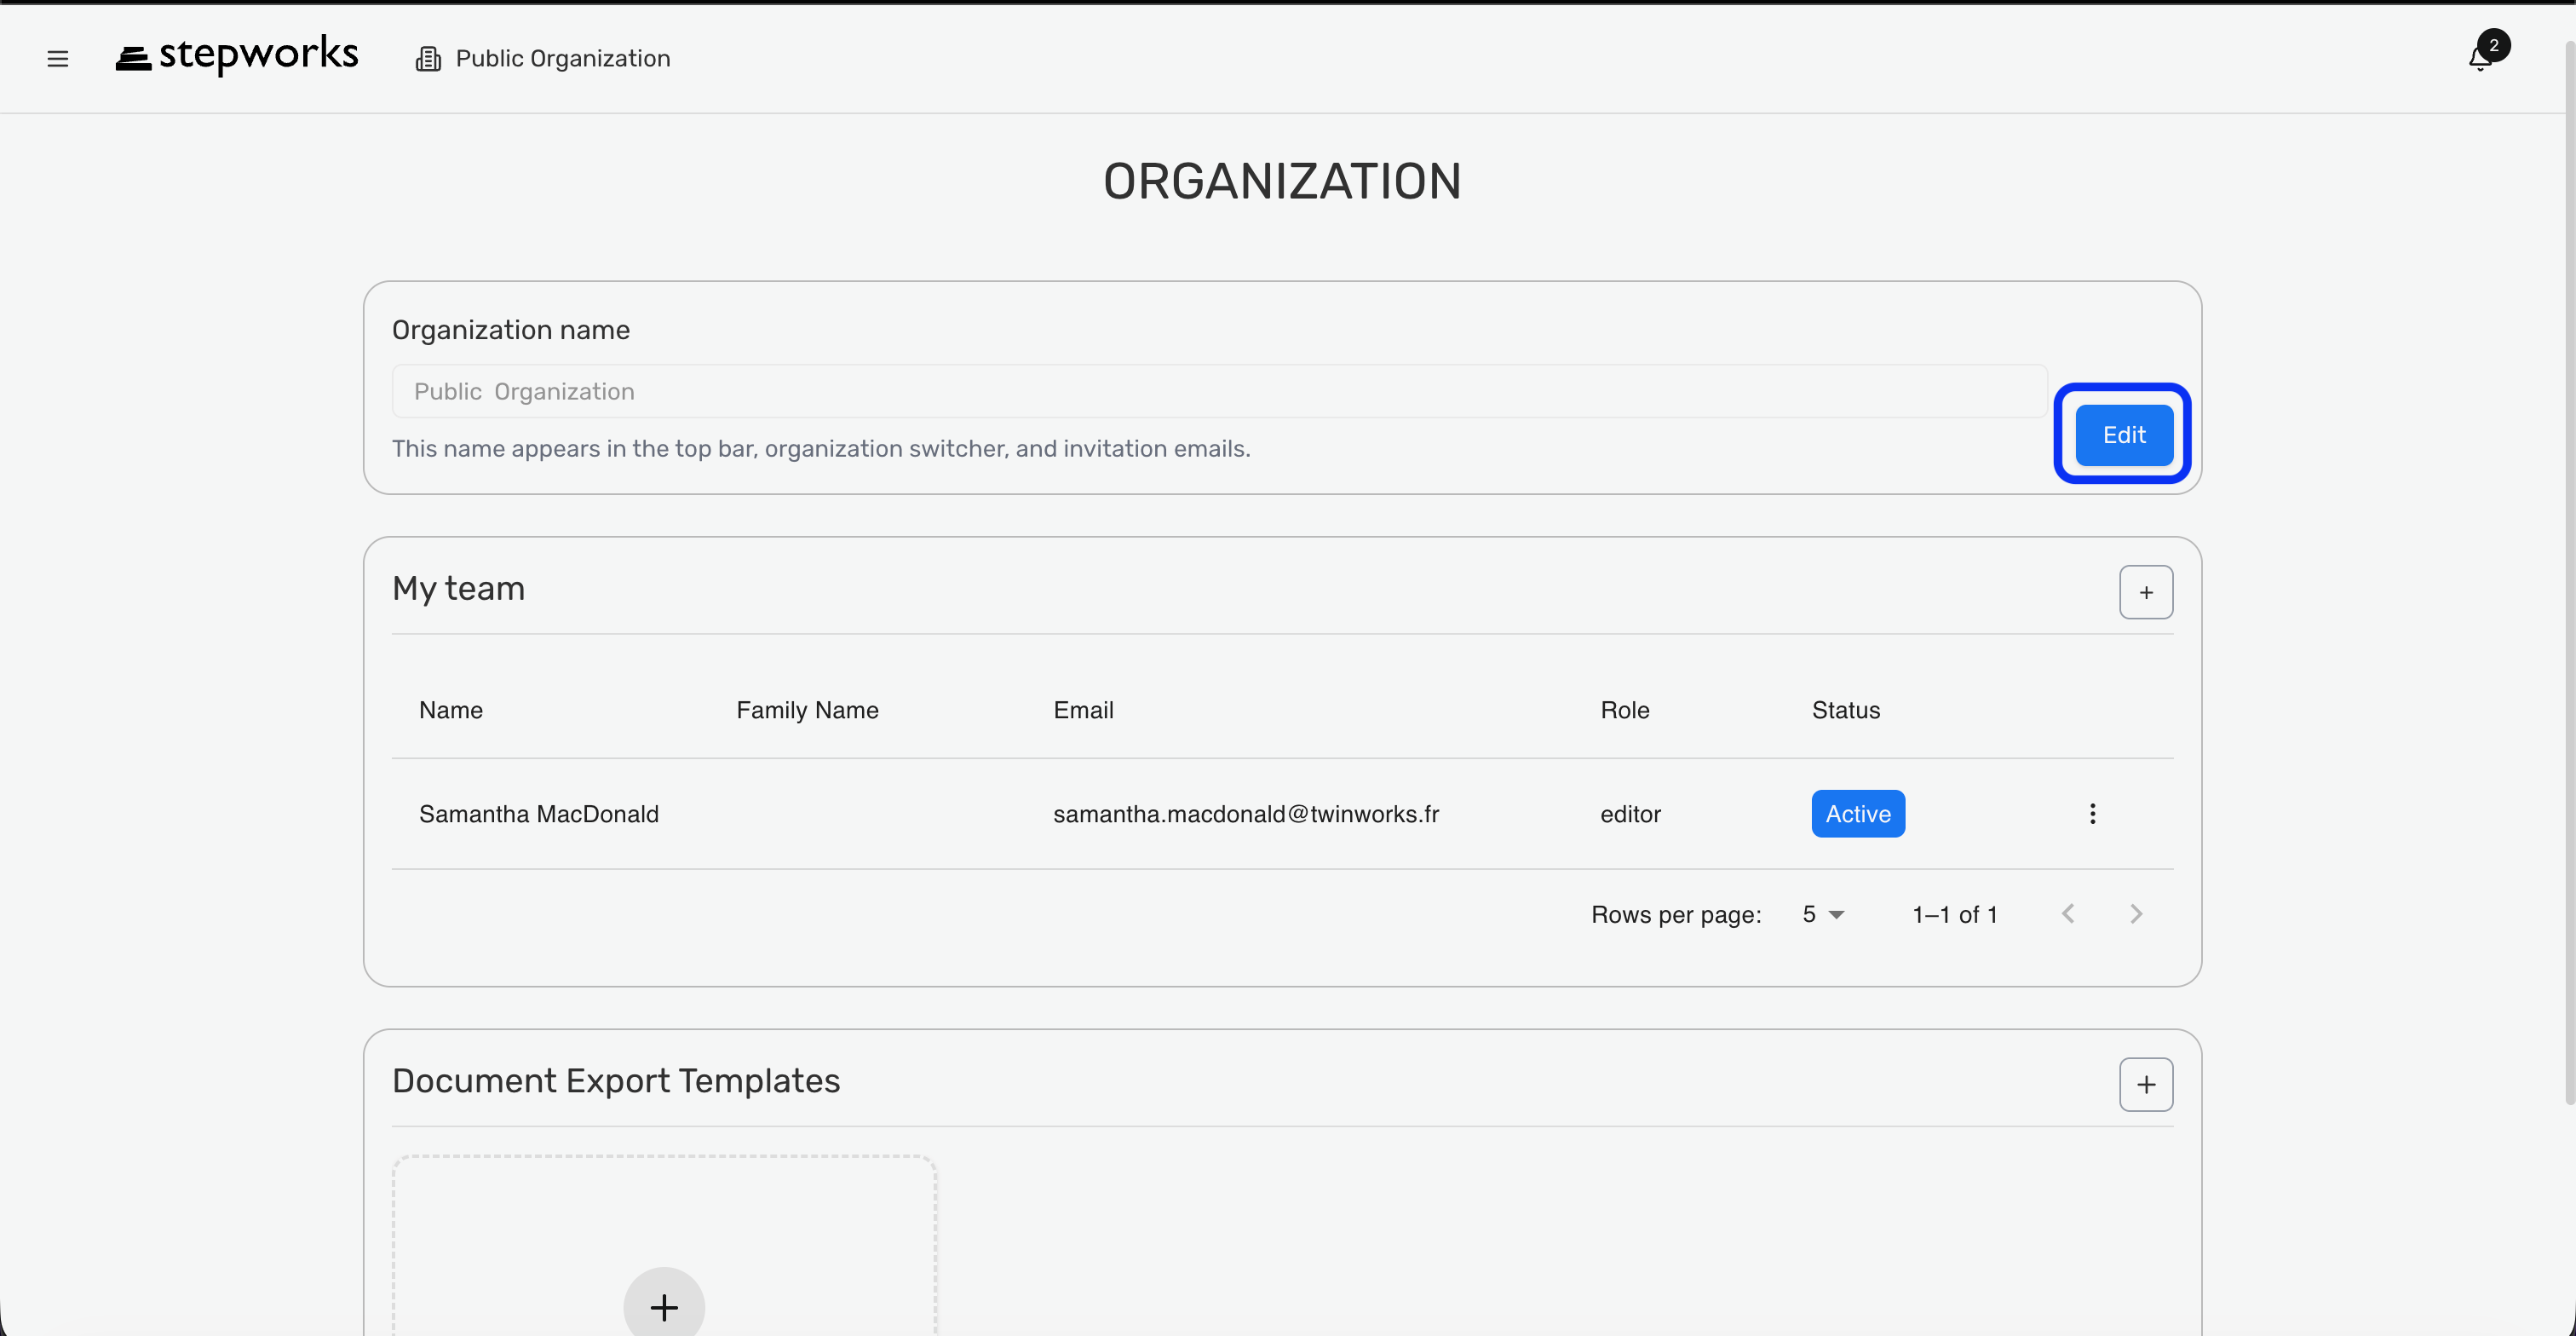
The current team roles are:
- Editor
- Viewer
Use Editor for users who need products, procedures, and publishing. Use Viewer for users who only need published experiences.
Add or update a team member
Use the team table to add, edit, deactivate, or delete members.
- Open Organization.
- In My team, click Add member.
- Enter the member's name, family name, email, and role.
- Save the member.
- To change a member later, use the row action to edit, deactivate, or delete that member.
Add a service technician as Viewer if they only need private published procedures. Add a procedure author as Editor if they also need Products and Publish Settings.
Set Up Export Templates
Manage document export templates
Templates are reused in PDF and Word export workflows.
- Open Organization.
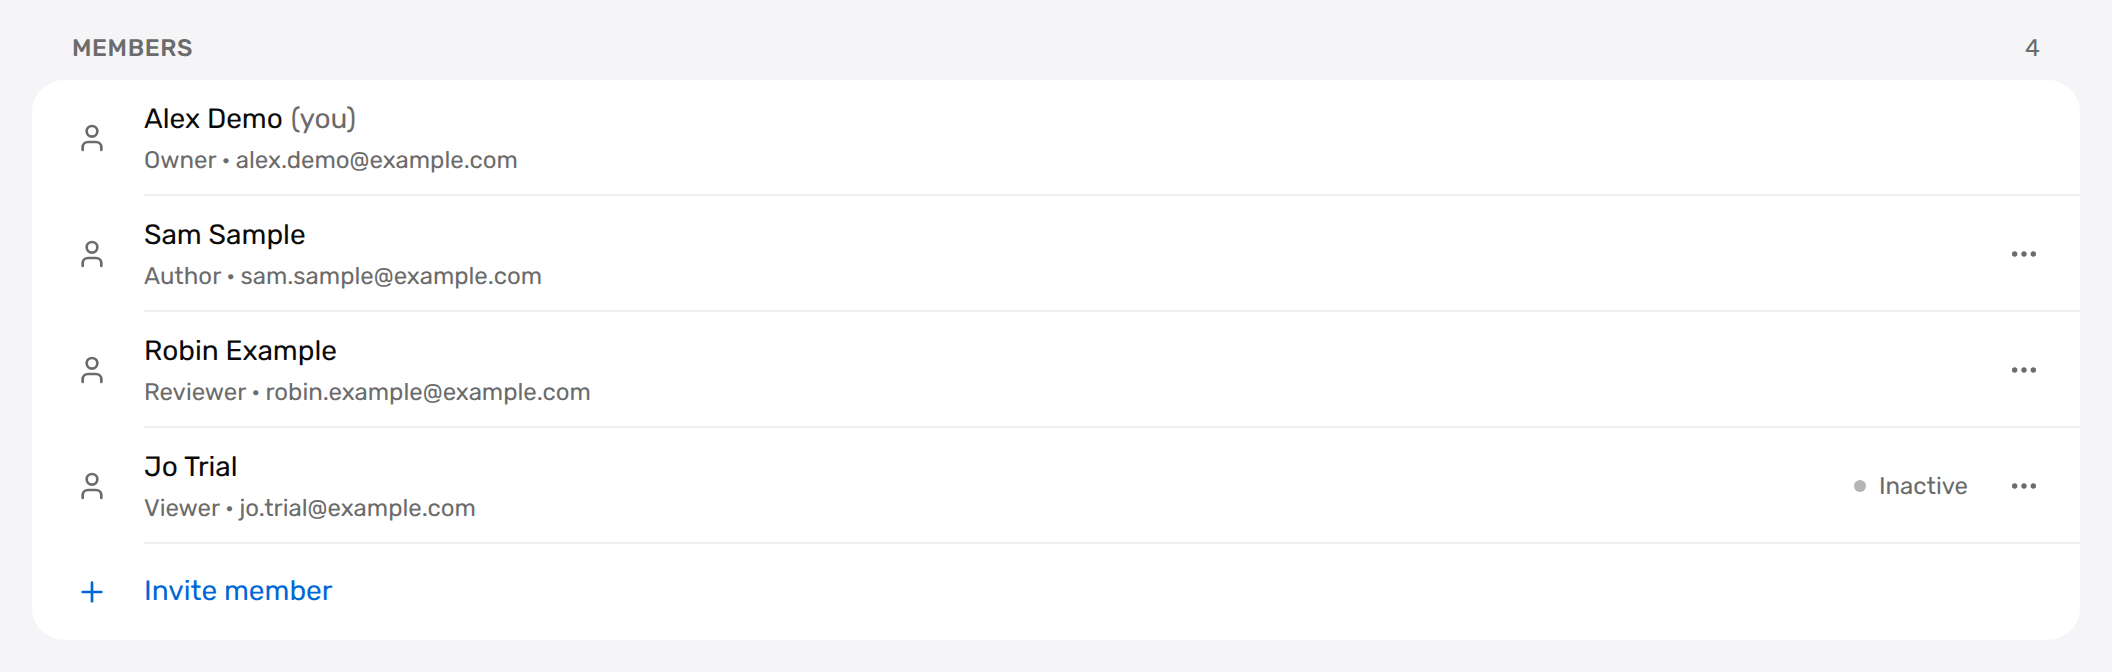
- Go to Document Export Templates.
- Create a new template or edit an existing one.
- Set the default template if one layout should be used most often.
- Save the template setup before exporting manuals elsewhere in TwinWorks.
Create one template for customer-facing manuals and another for internal maintenance exports, then set the customer template as default if it will be used most often.