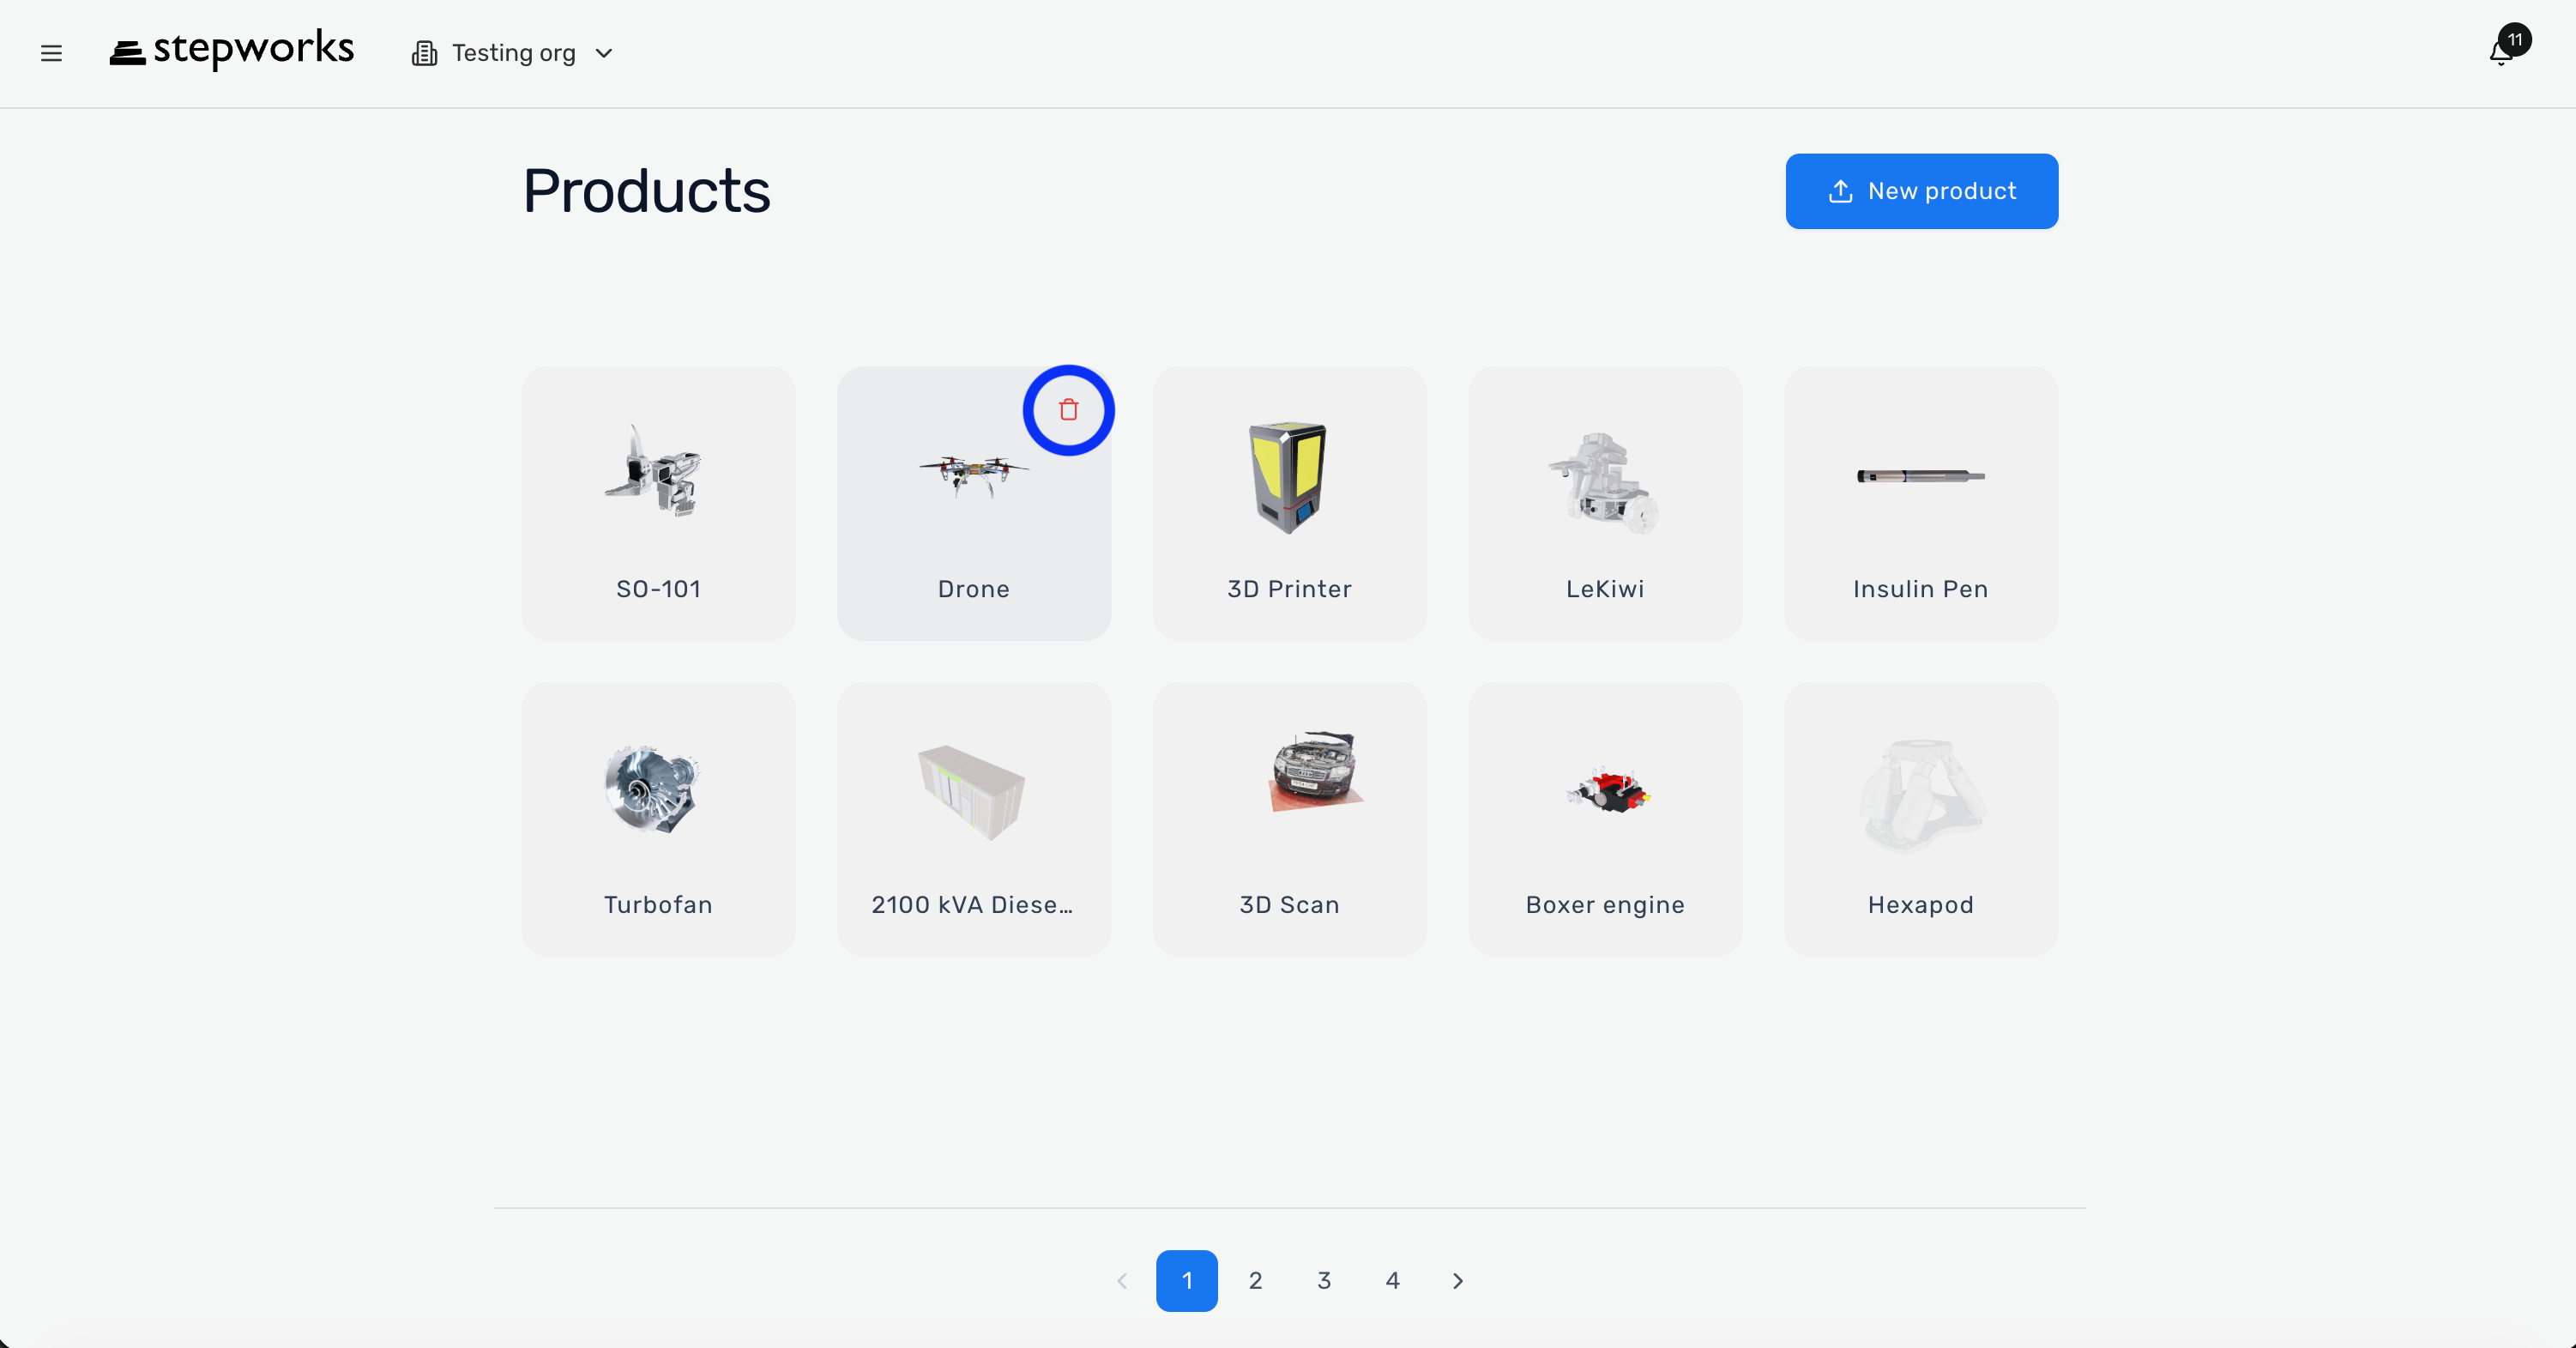

Products
A Product is the main container for:
- product metadata
- an optional 3D model
- optional PDF instructions
- procedures
- publish settings
- product-level QR and serial settings
Use this page when you need to create a product, understand Product Home, or prepare the Product Twin before procedure authoring.
Create A Product
Create the product container
You can create a product with or without a 3D model. If there is no model, the workflow stays document-first.
- Open Products.
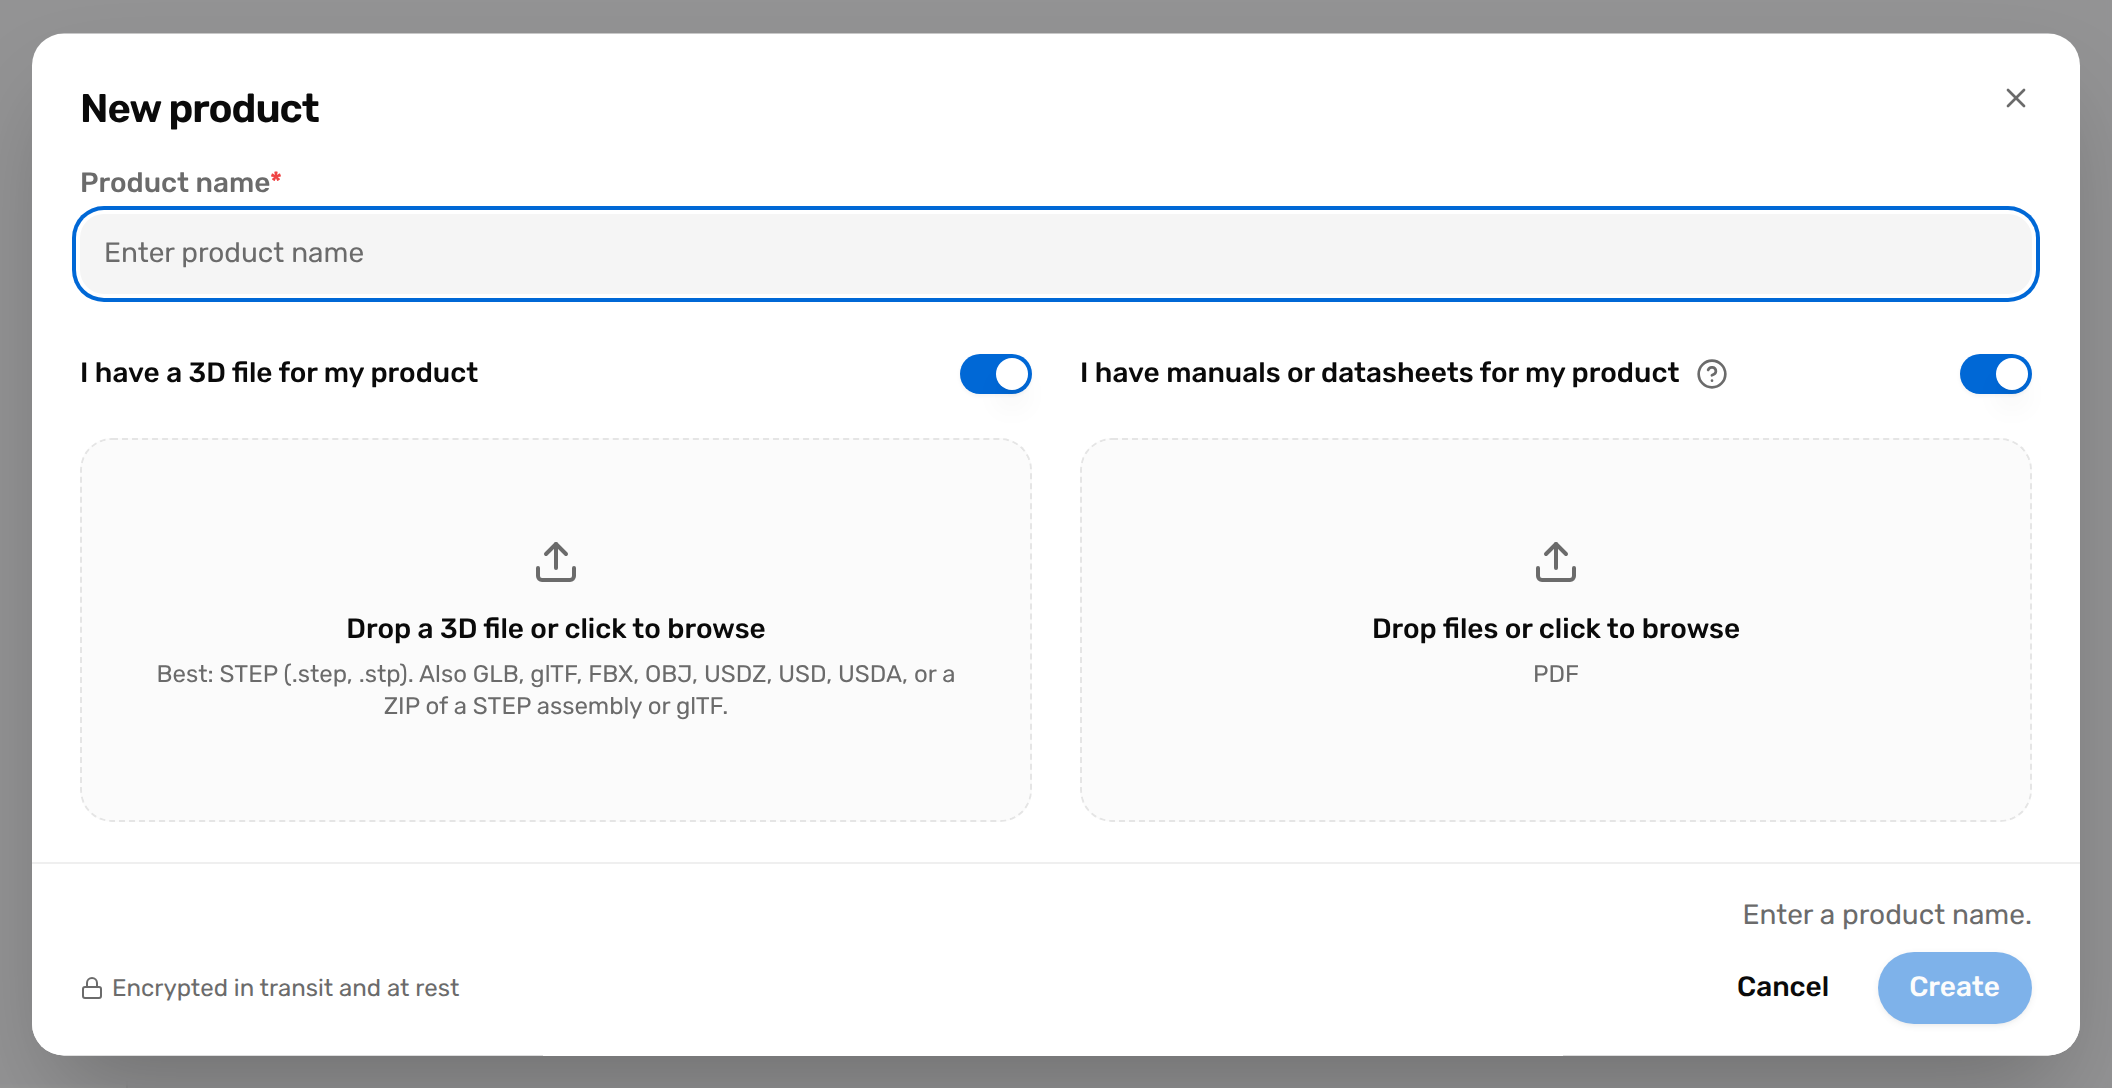
- Click New Product.
- Enter Product Name.
- Turn on 3D model if the product needs a Product Twin.
- Upload the model file if you enabled 3D model.
- Turn on Instructions if you want AI-assisted procedure generation.
- Upload the instruction documents in
PDFformat. - Click Create.
Create Hydraulic Pump A3, upload pump.step, and attach pump-manual.pdf. This gives you both the Product Twin workflow and manual-driven procedure generation.
The new product appears in Products and becomes editable after processing finishes.
Use Product Home
Choose the right product-level action
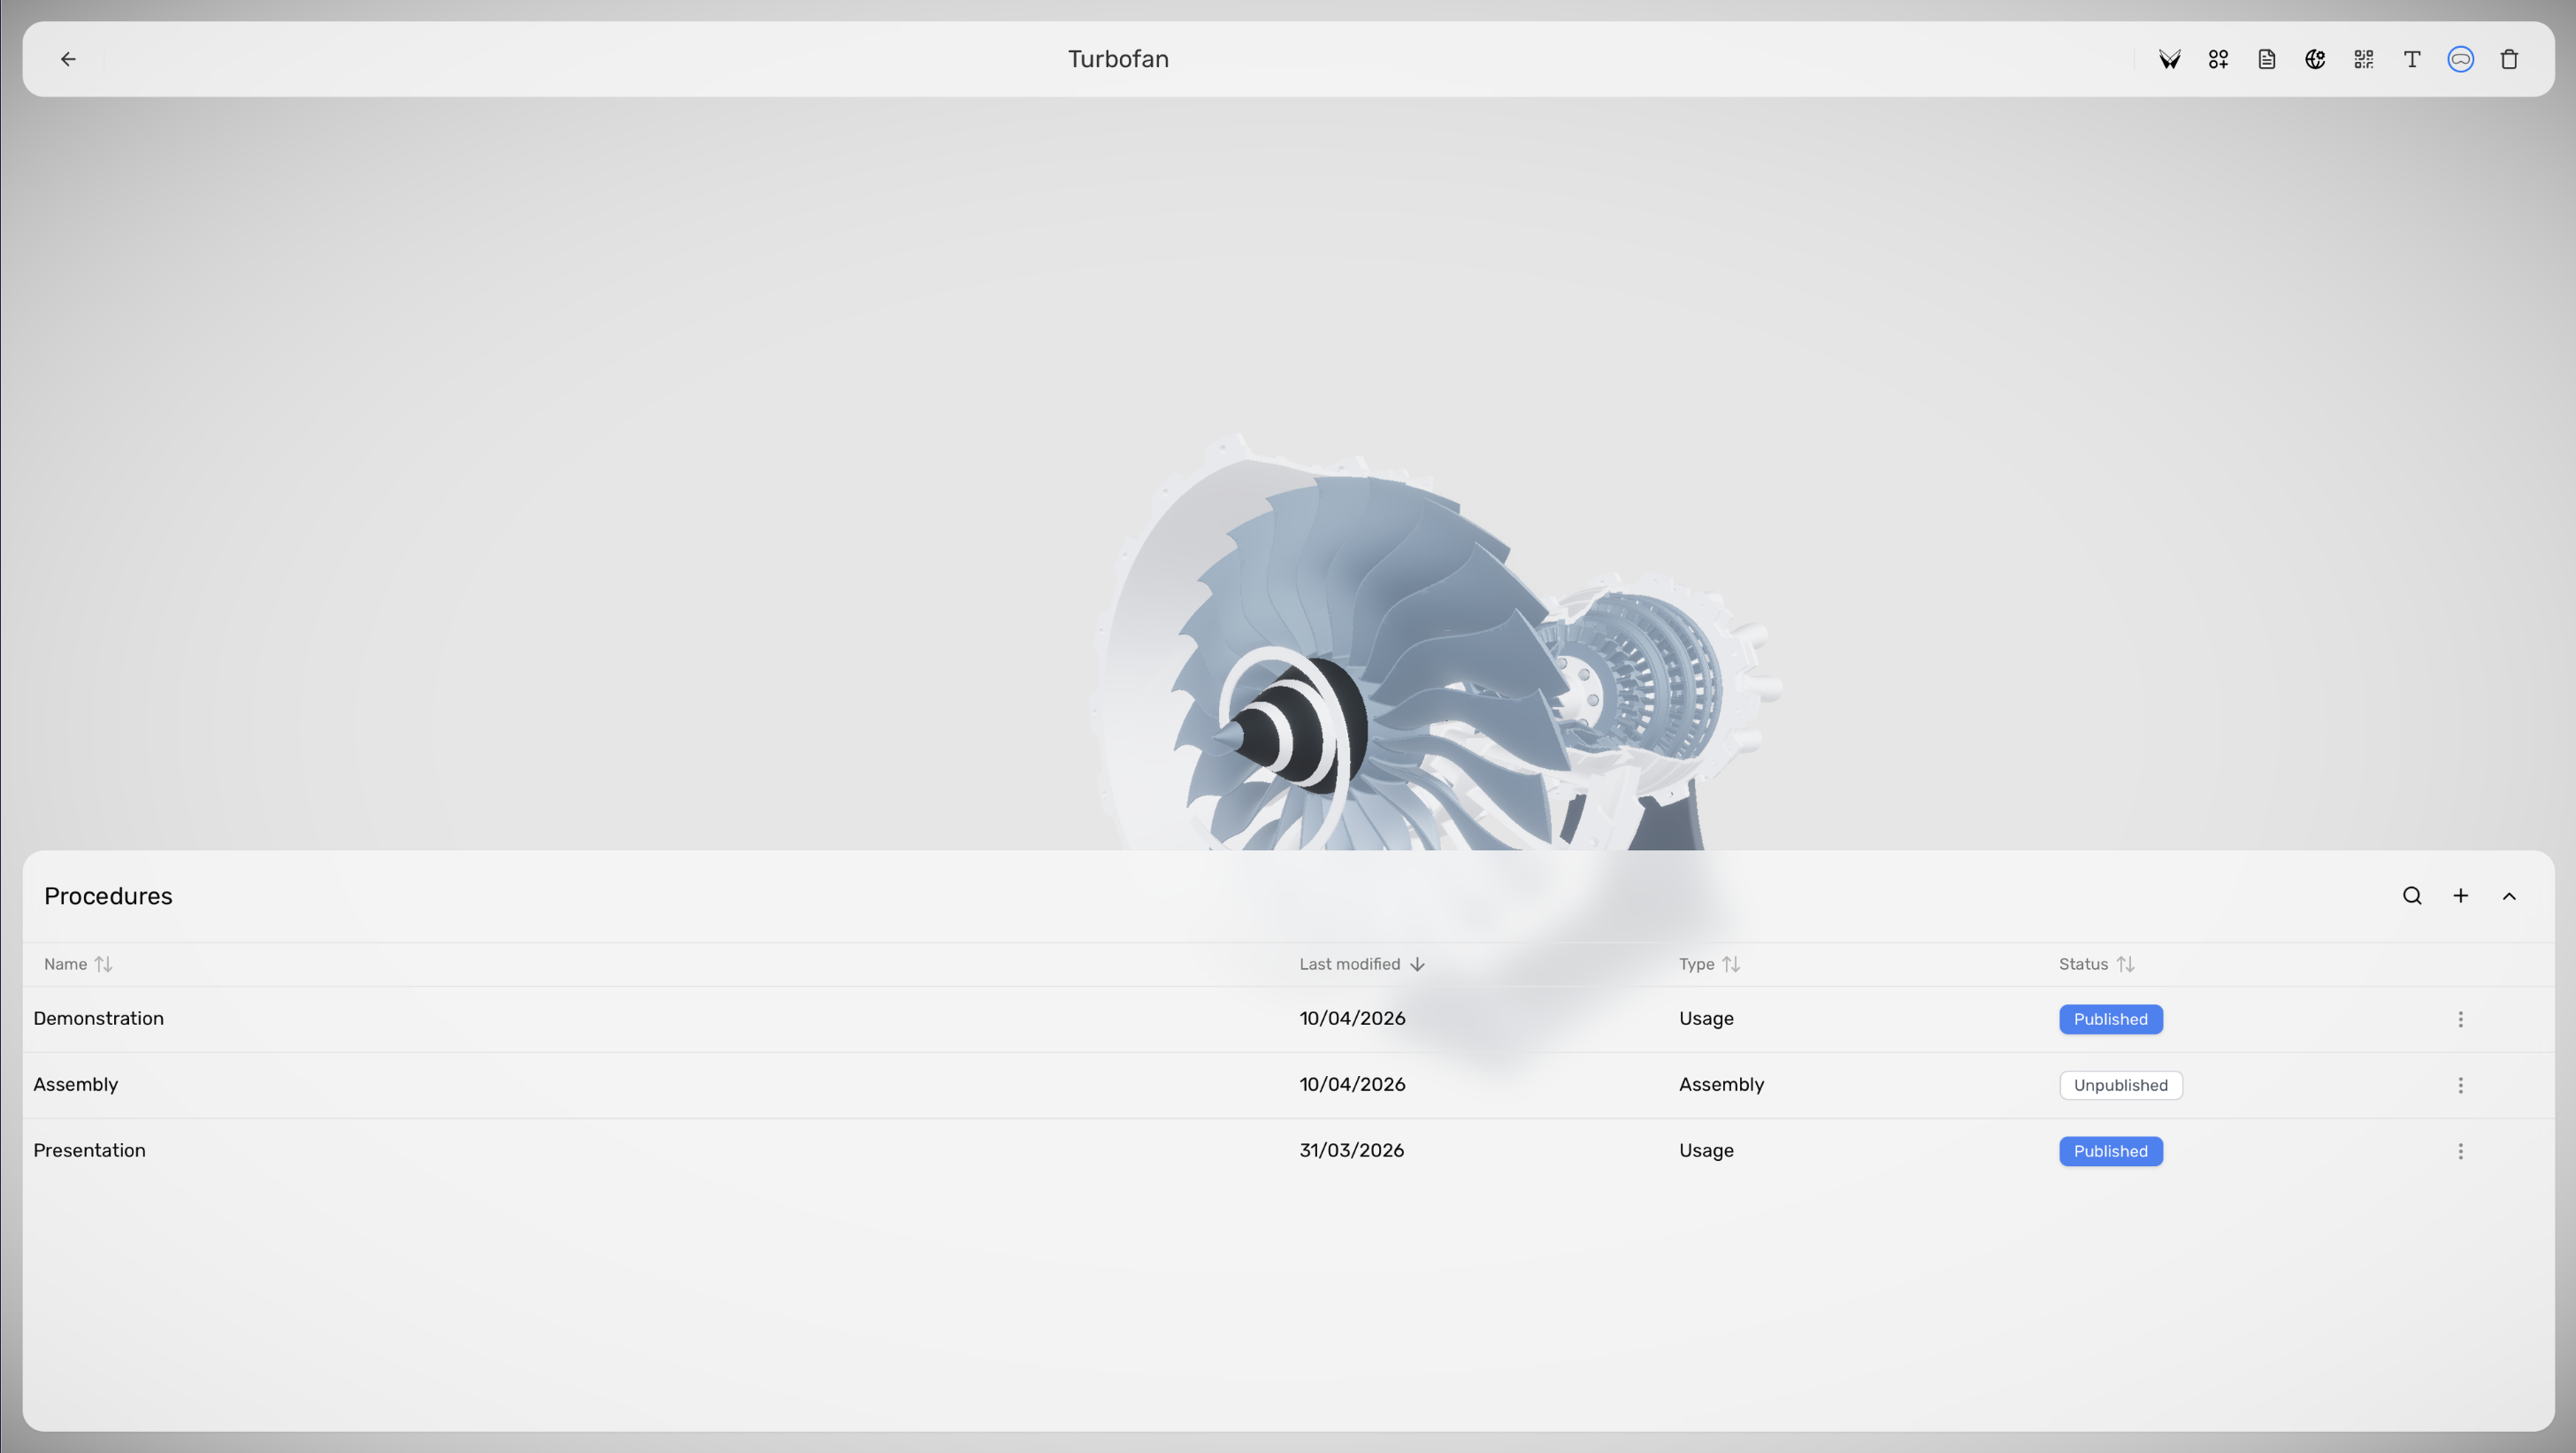
Product Home is the control center for product setup.
- Open the product from Products.
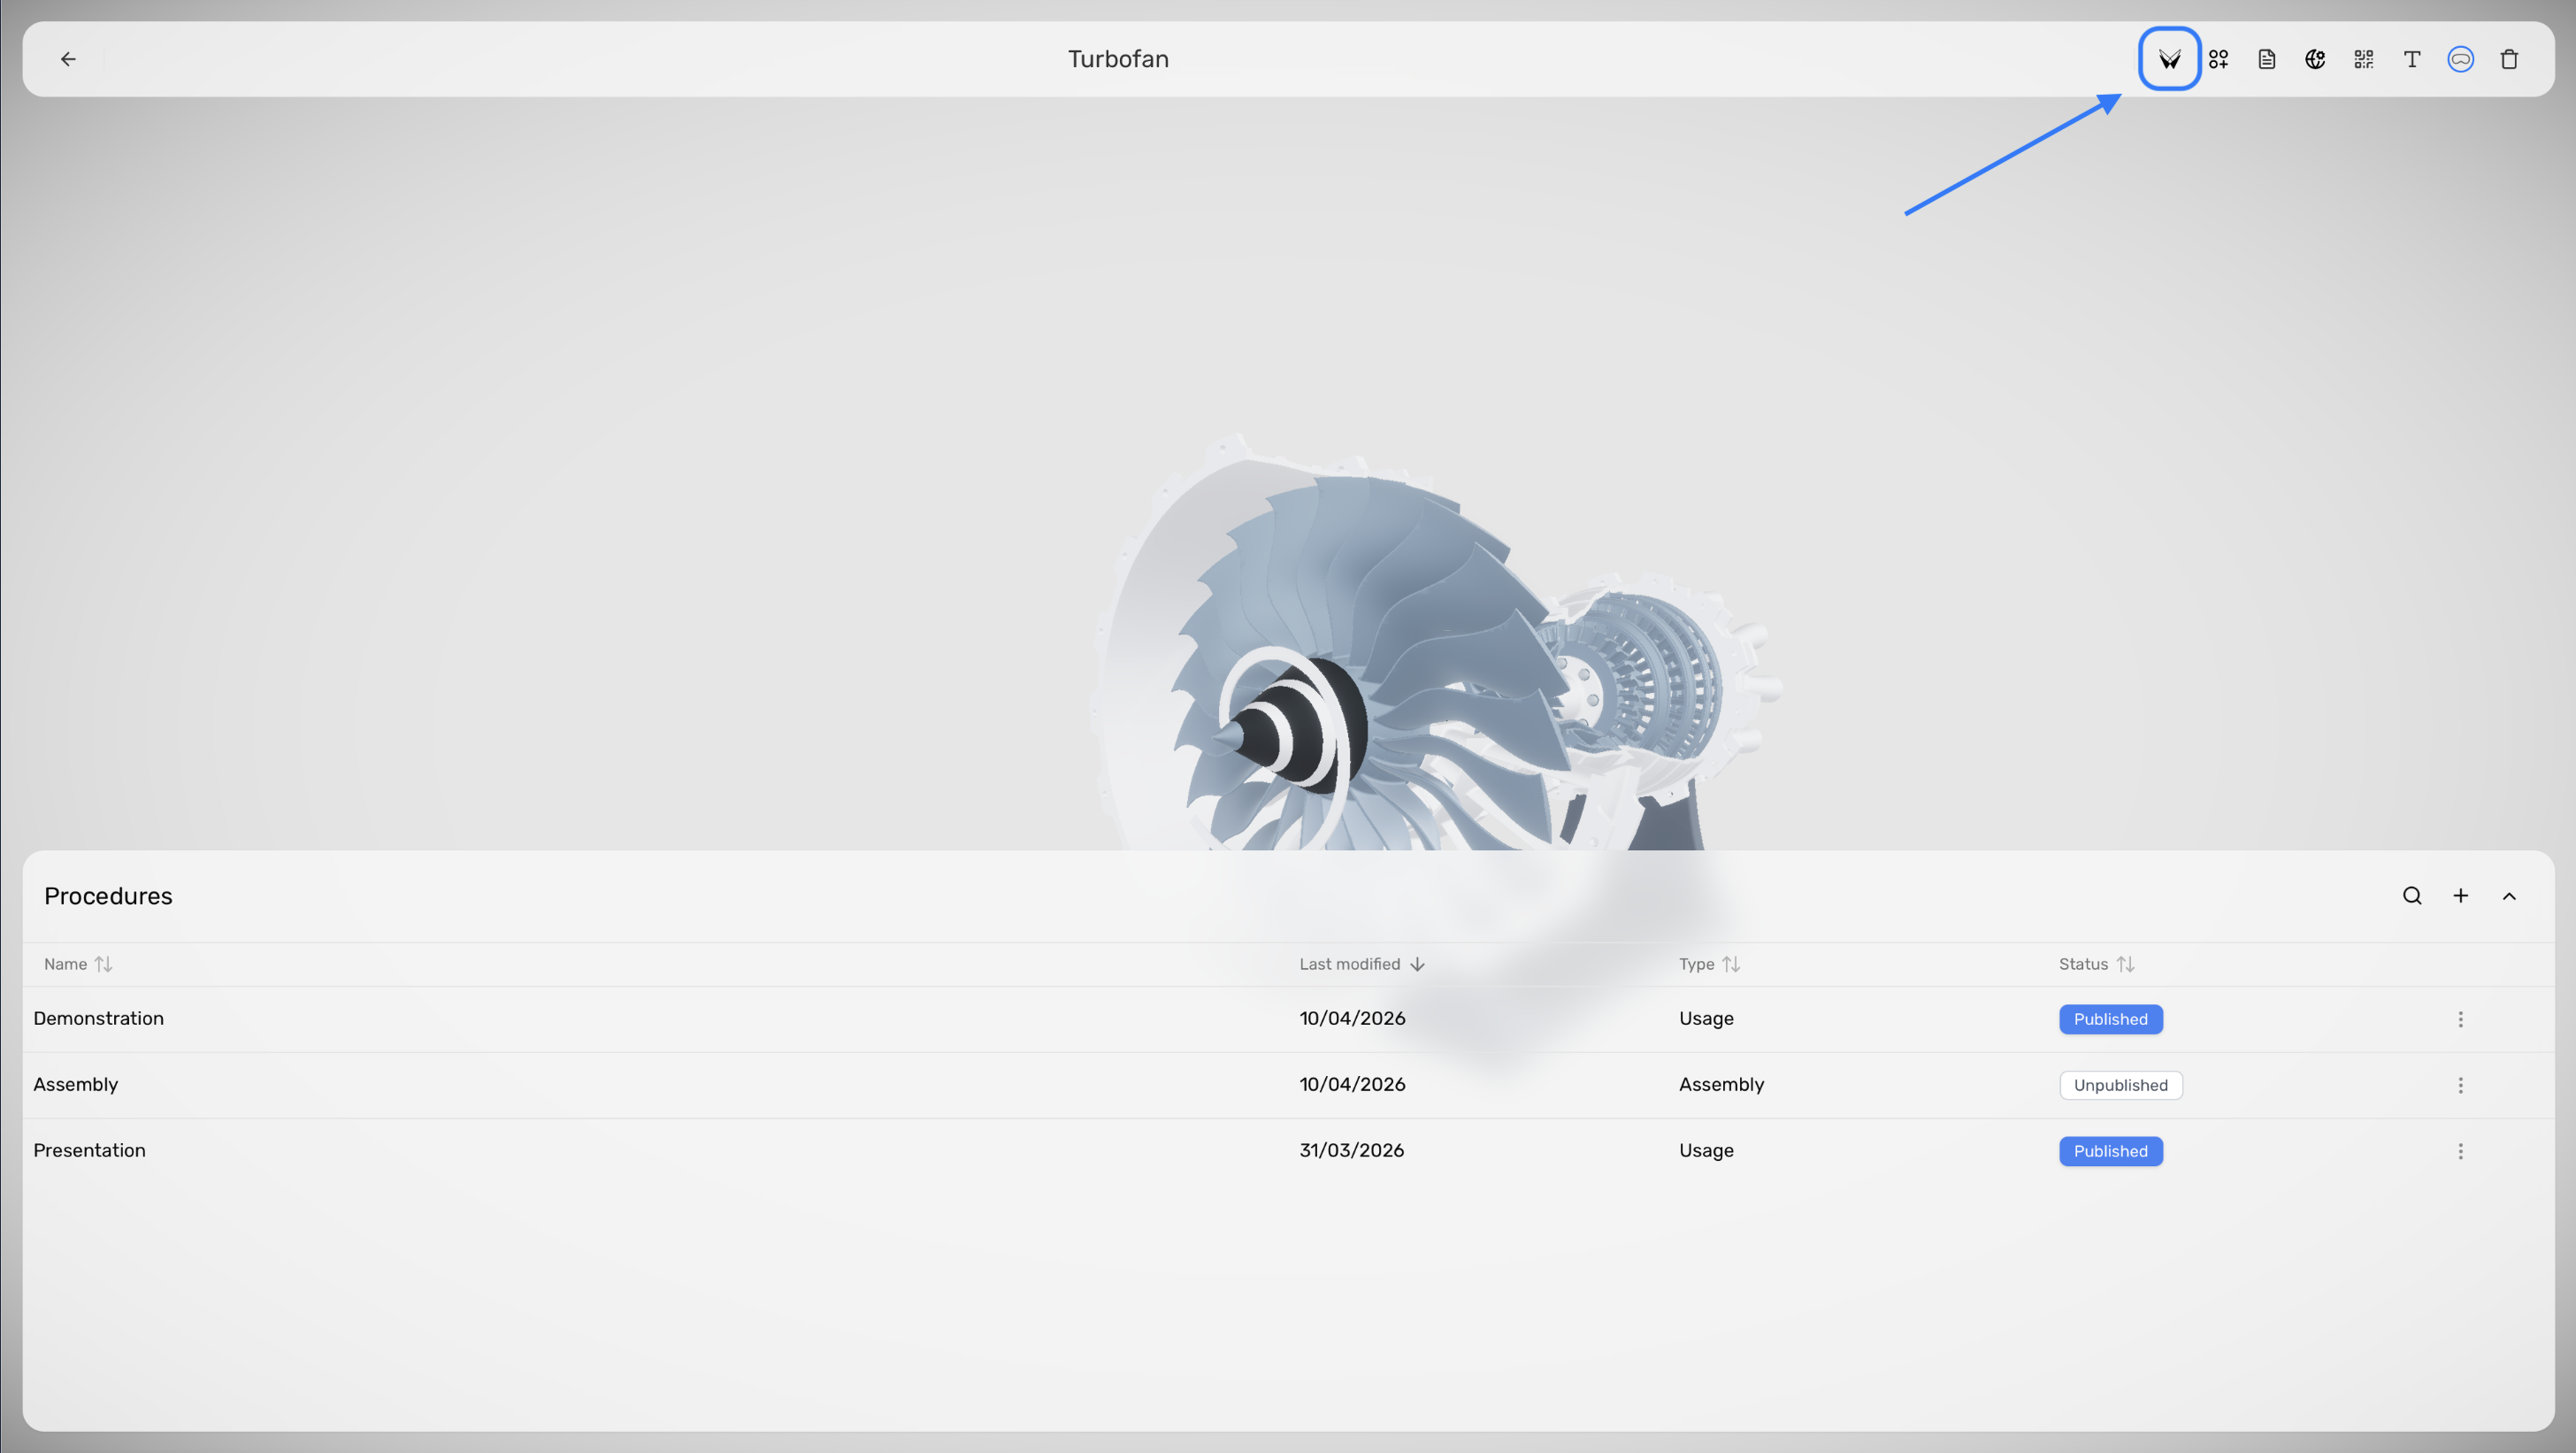
- Use Product Twin for model preparation.
- Use Product Document for instruction PDFs.
- Use Publish Settings for public/private procedure access, languages, reporting, and branding.
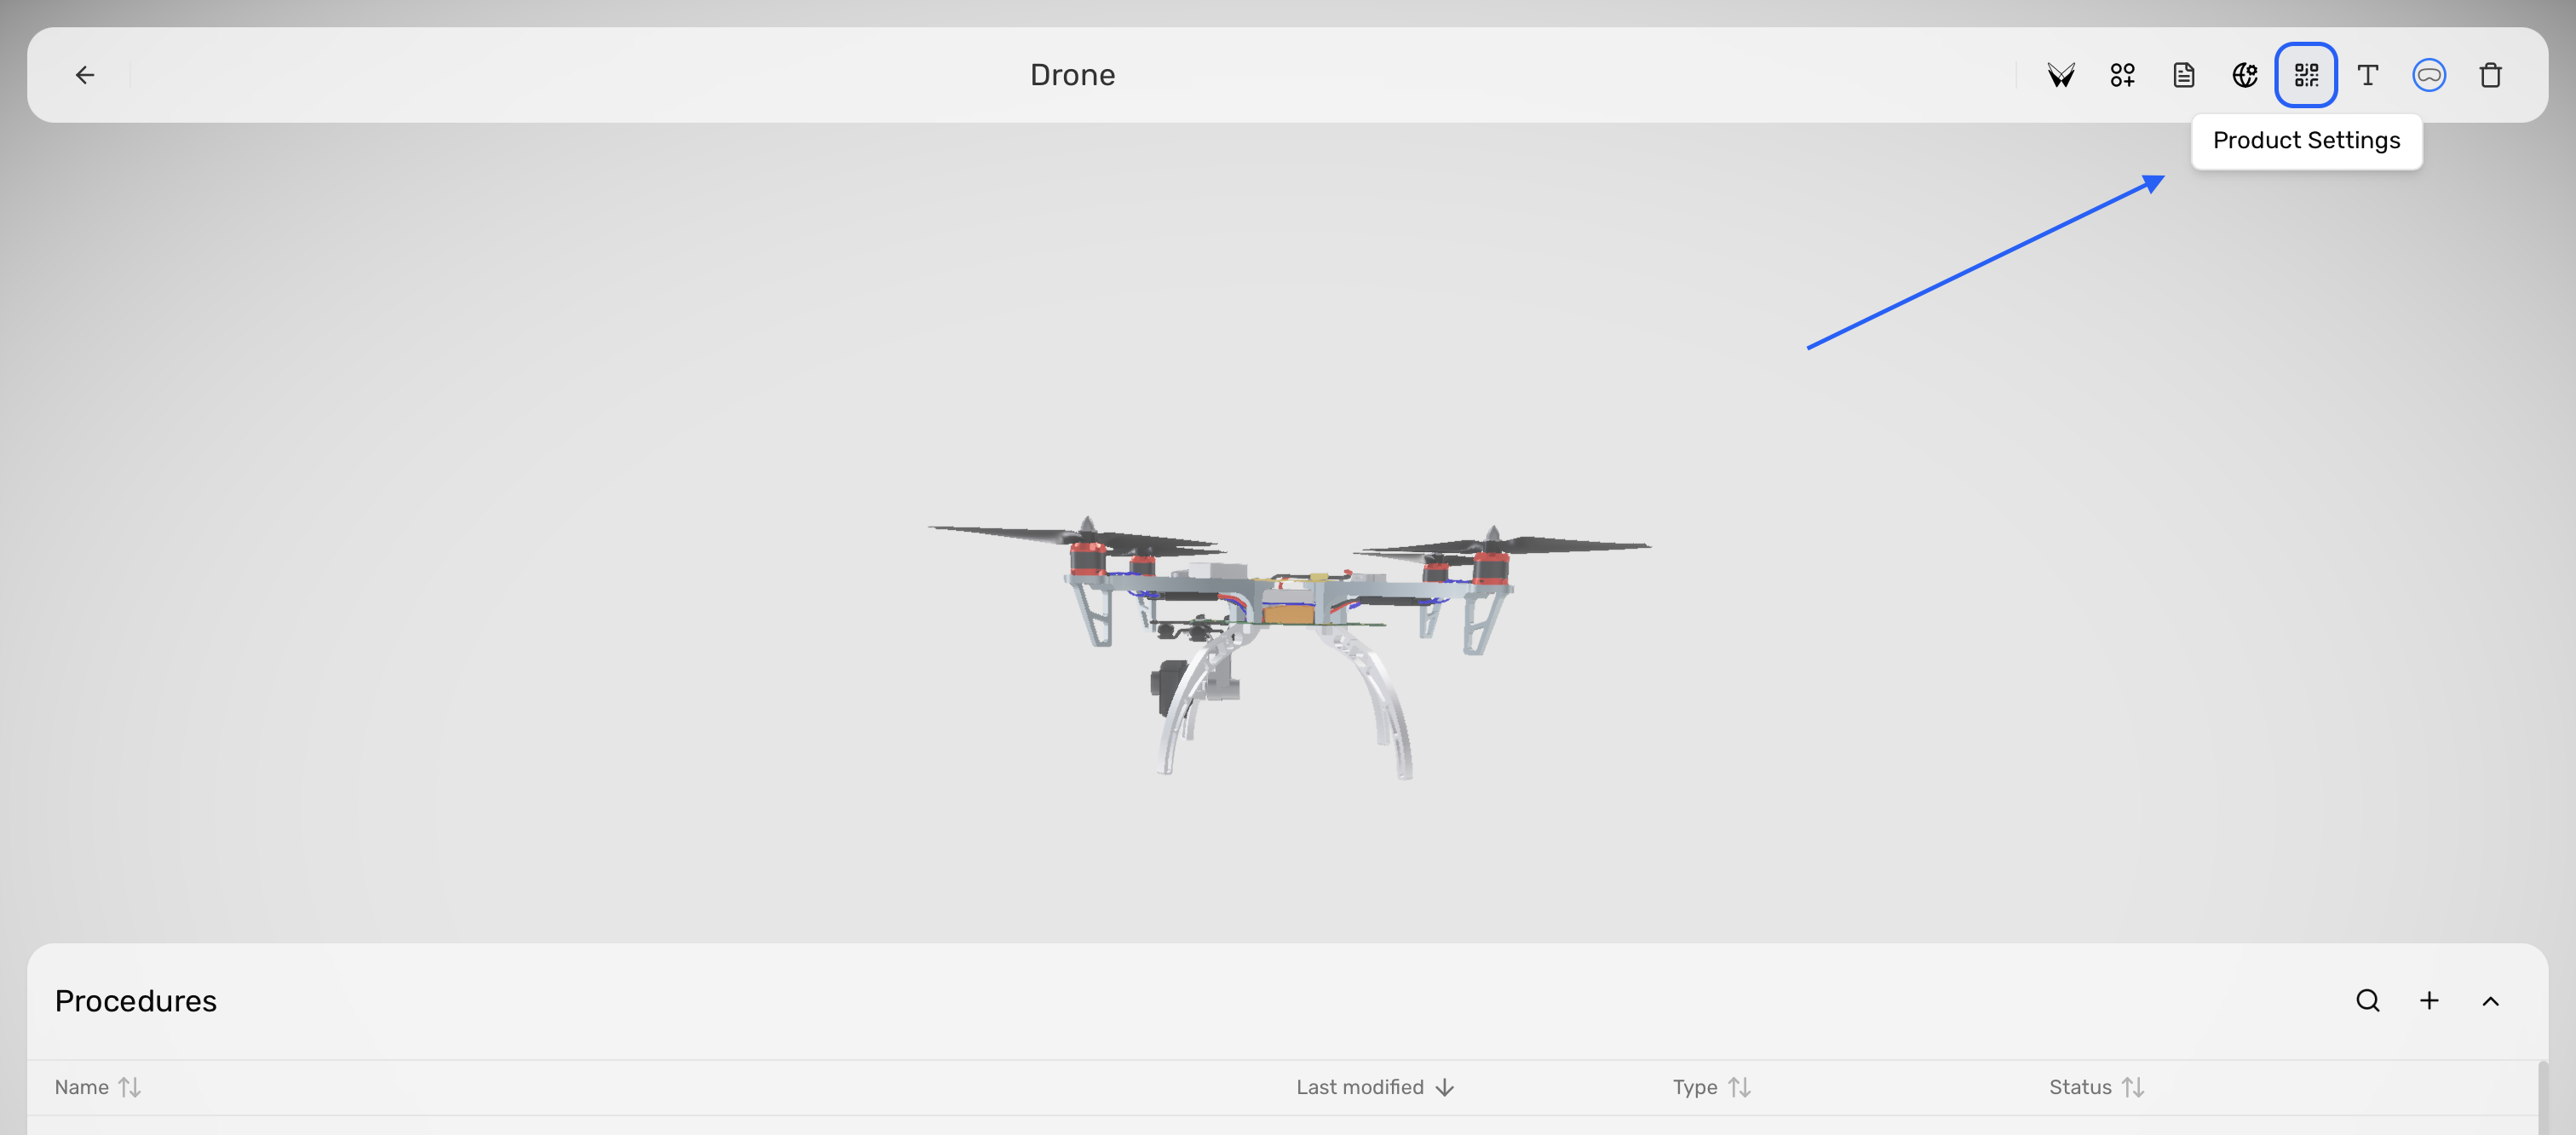
- Use Product Settings for viewer links, QR codes, and serial numbers.
- Use the procedures table for authoring and editing procedures.
If you need to rename parts, go to Product Twin. If you need to generate procedures from the manual, stay on Product Home and use the procedures table.
Prepare The Product Twin
Make the 3D model ready for procedures
Reference names are optional, but realistic states and motion have a strong impact on authoring and generation quality.
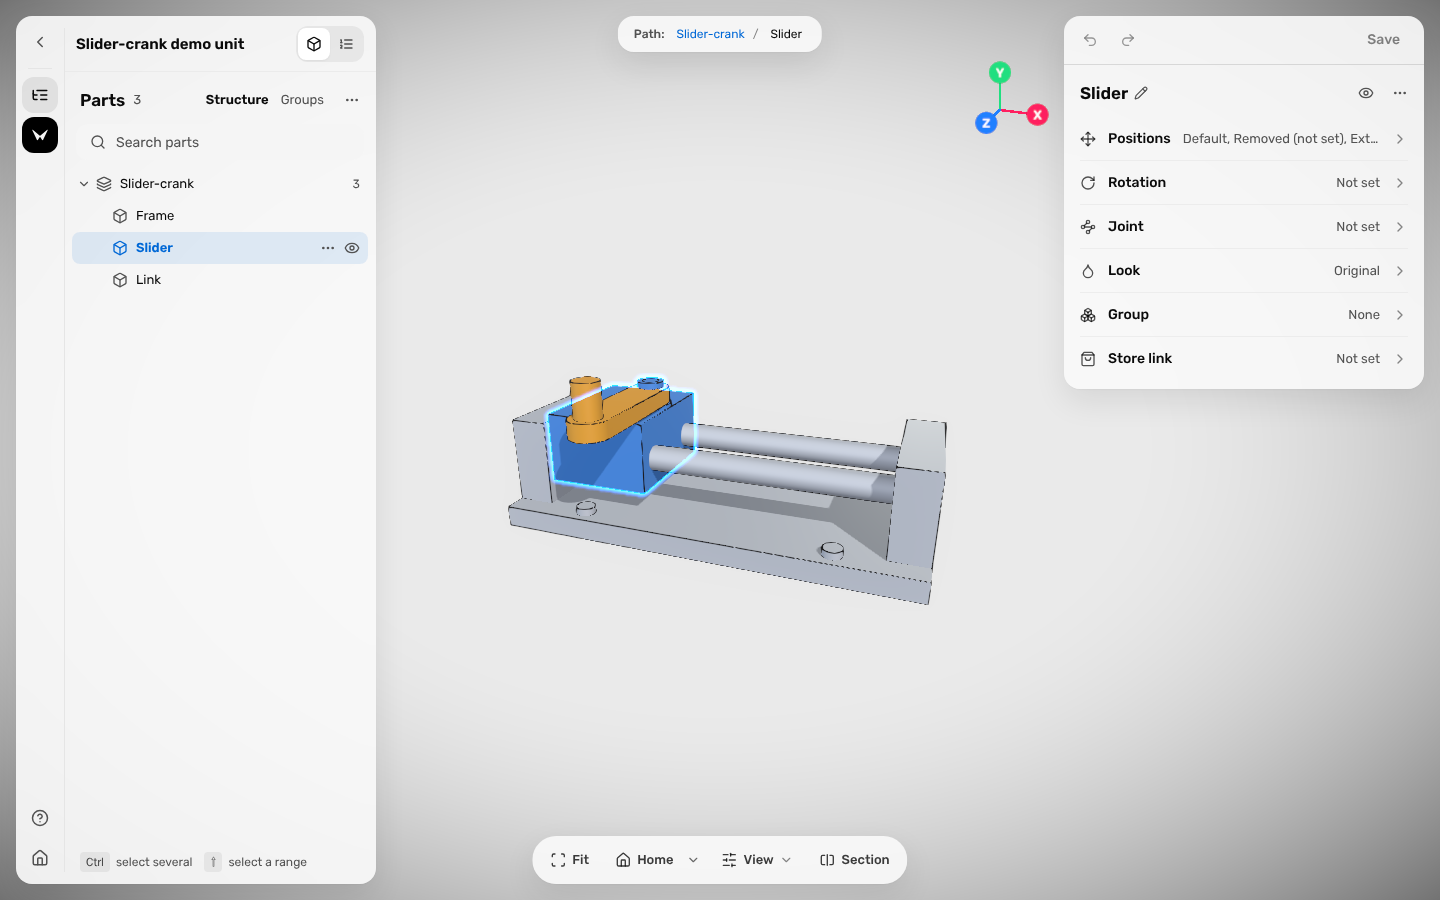
- In Product Home, click Product Twin.
- Select a part in the hierarchy.
- Add a Reference Name only when a part needs a clearer label.
- Add a Store Link if viewers may need to replace or reorder that part.
- Create or edit the part states you need so the Product Twin behaves like the real object.
- Adjust materials or groups only when they help the procedure workflow.
- Save your changes.
Rename Part_08 to Access Panel, add a store link to the spare part page, and create an Open state if the panel must be opened during maintenance.
Procedures can now refer to clearer parts, and a realistic Product Twin will help generation a lot.
Manage Product Documents
Keep the product manuals up to date
Instruction documents are used for single-procedure generation and Batch create.
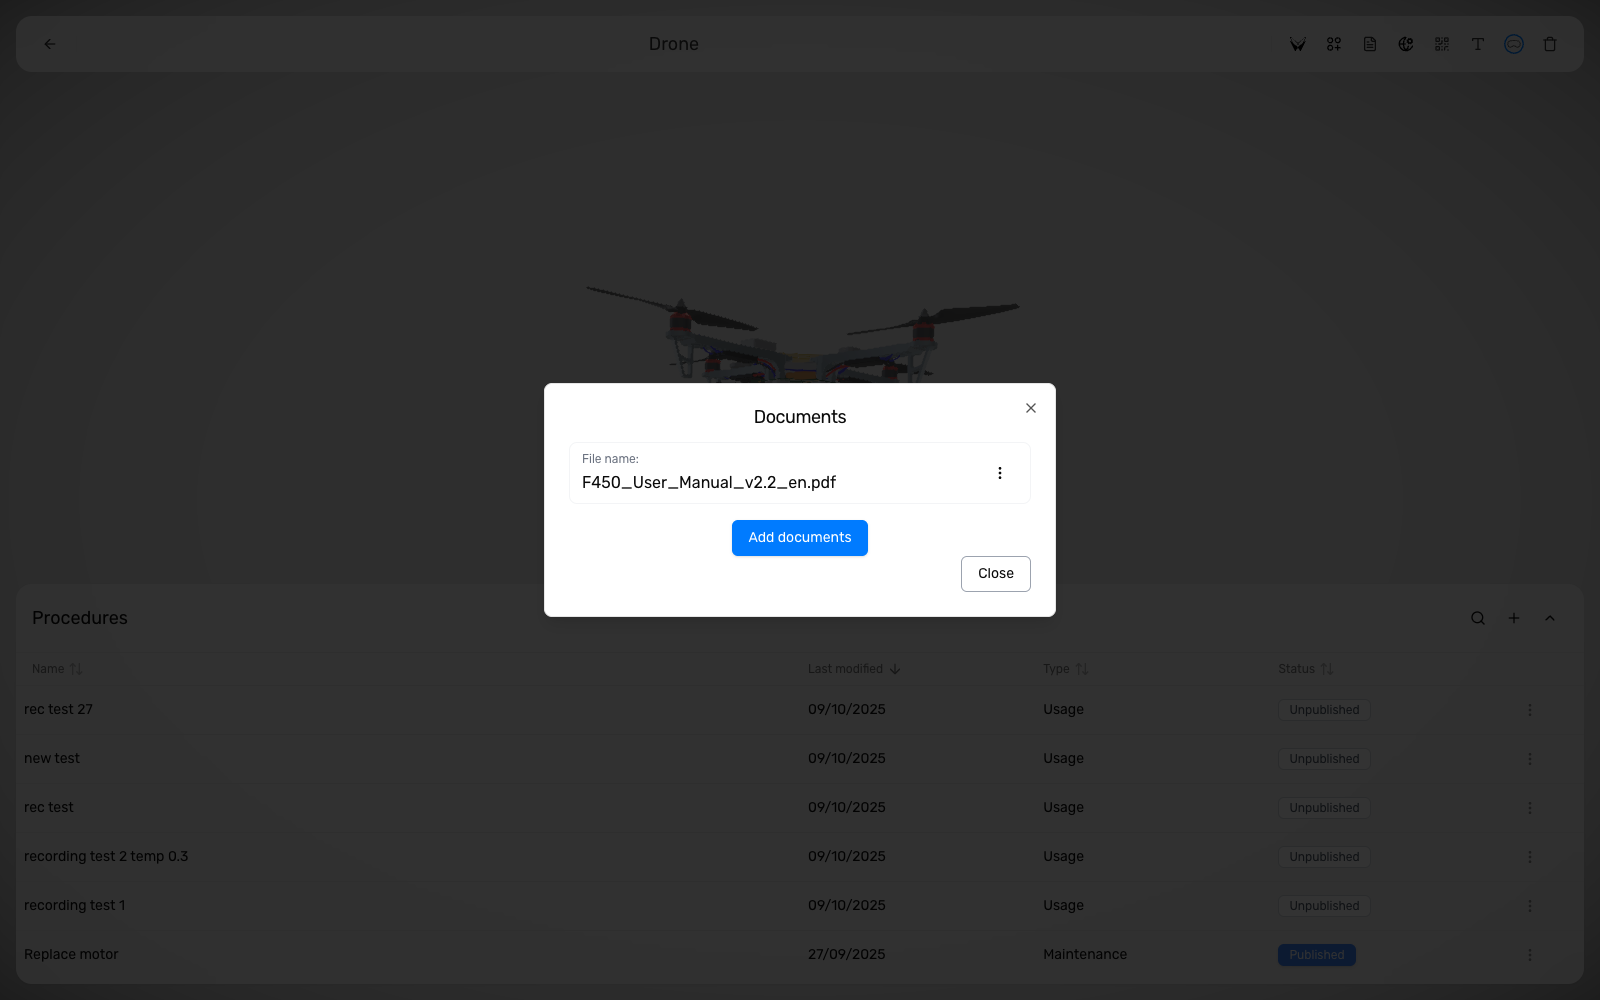
- In Product Home, click Product Document.
- Add, replace, or remove the product PDFs.
- Return to the procedures table.
- If you use generated content, refresh suggested procedures before generating again.
If you replace an outdated maintenance manual with a new revision, update the document first and then rerun Batch create for the relevant procedures.
Use Product Settings
Prepare QR and serial workflows
Product Settings is separate from publishing. It is for product-level access, serial registration, and traceability.
- In Product Home, click Product Settings.
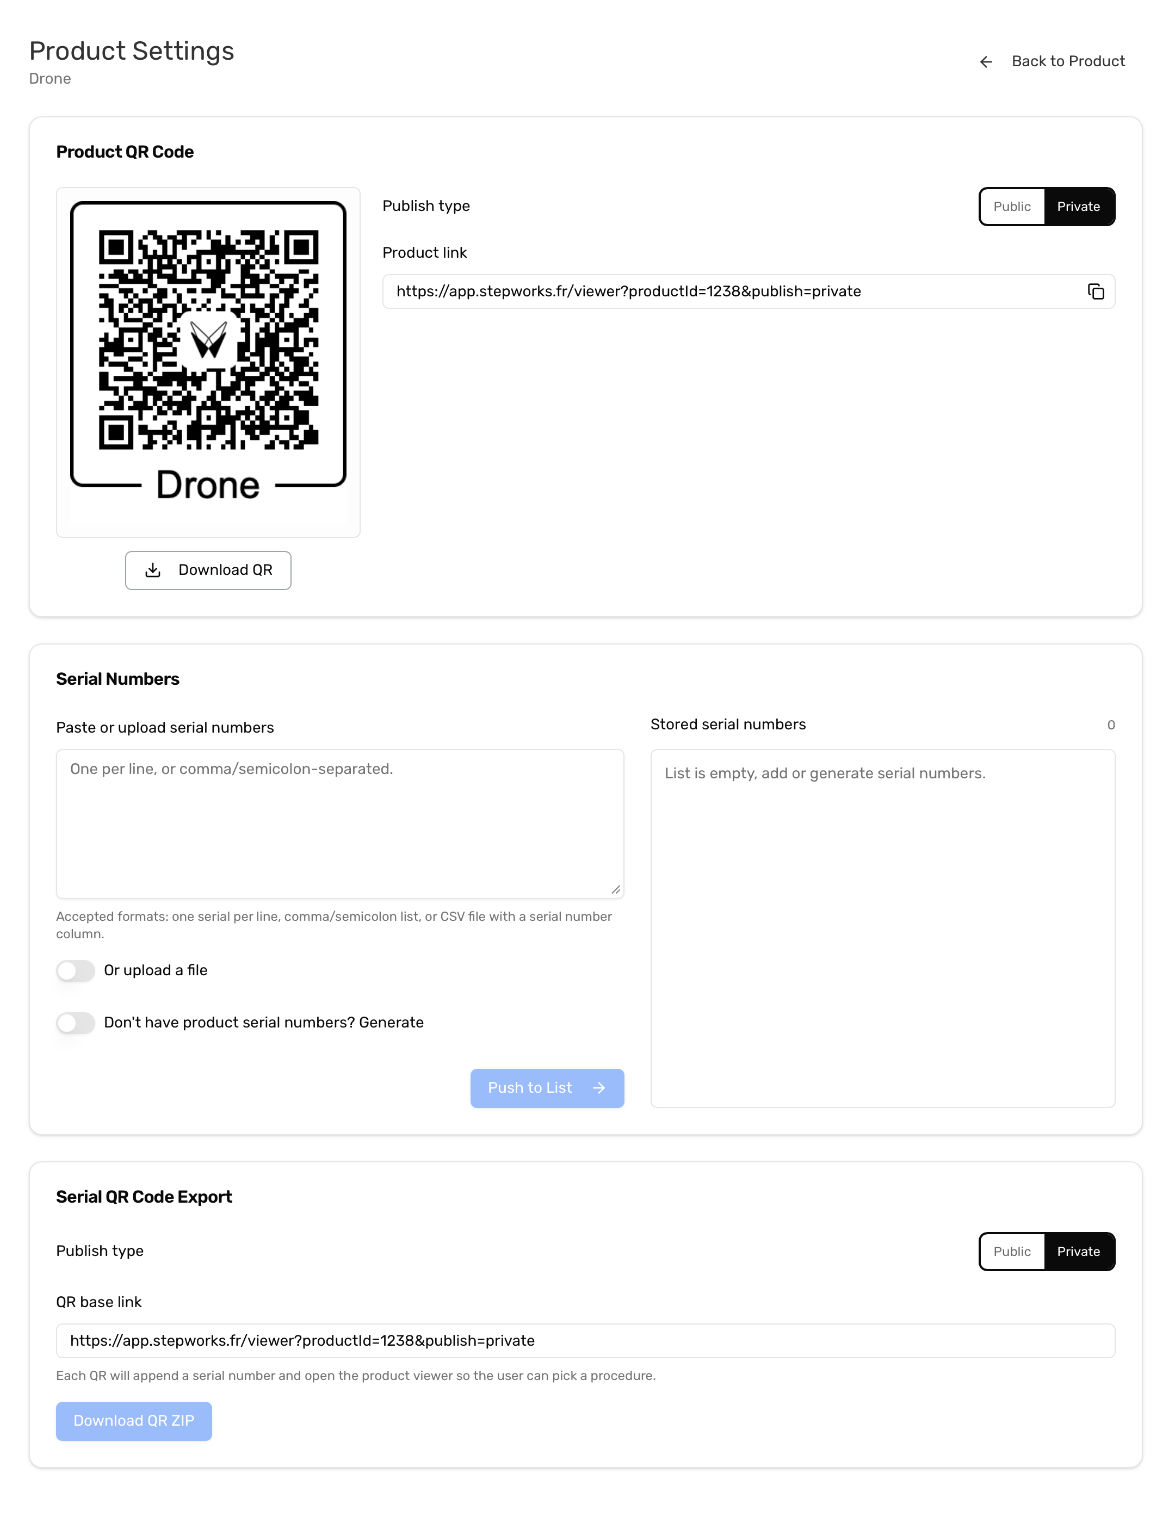
- Choose Public or Private.
- Copy the product link if you need a direct URL.
- Download the product QR code if you need a scannable access point.
- Import serial numbers from text,
CSV, orTXT, or generate them directly in TwinWorks. - Export the ZIP of serial-specific QR codes if each unit needs its own tracking path.
- Attach the matching QR code to each physical product so the viewer opens with the correct serial number already embedded.
For a fleet of machines, import the serial numbers first and then export the QR ZIP so each machine opens the correct traceable workflow.
Each physical unit can open the same published viewer while keeping its own serial number, report history, and execution trace.
Delete A Product
Delete a product only when you are sure you no longer need:
- its procedures
- its publish settings
- its QR and serial setup
Delete a product from Products
Only delete a product when you are sure its content is no longer needed.
- Open Products.
- Find the product you want to remove.
- Use the delete action on that product.
- Confirm the deletion when TwinWorks asks.
Delete a demo product after internal testing if you no longer need its procedures, publish settings, or QR setup.