
Publishing Settings
Use Publishing Settings when you need product-level control over:
- which procedures are available to viewers
- public and private access separately
- viewer languages
- reporting options
- branding
- manual export
Choose Public Or Private First
Start on the correct publishing tab
Public and Private are configured separately on the same product.
- In Product Home, click Publish Settings.
- Choose the Public tab if the content should be available from a public link.
- Choose the Private tab if the content should be restricted to authenticated users.
- Make your changes inside the selected tab.
- Click Save.
Publish onboarding procedures publicly, but keep maintenance and audit procedures private.
Publish Or Unpublish Procedures
Choose which procedures belong in each tab
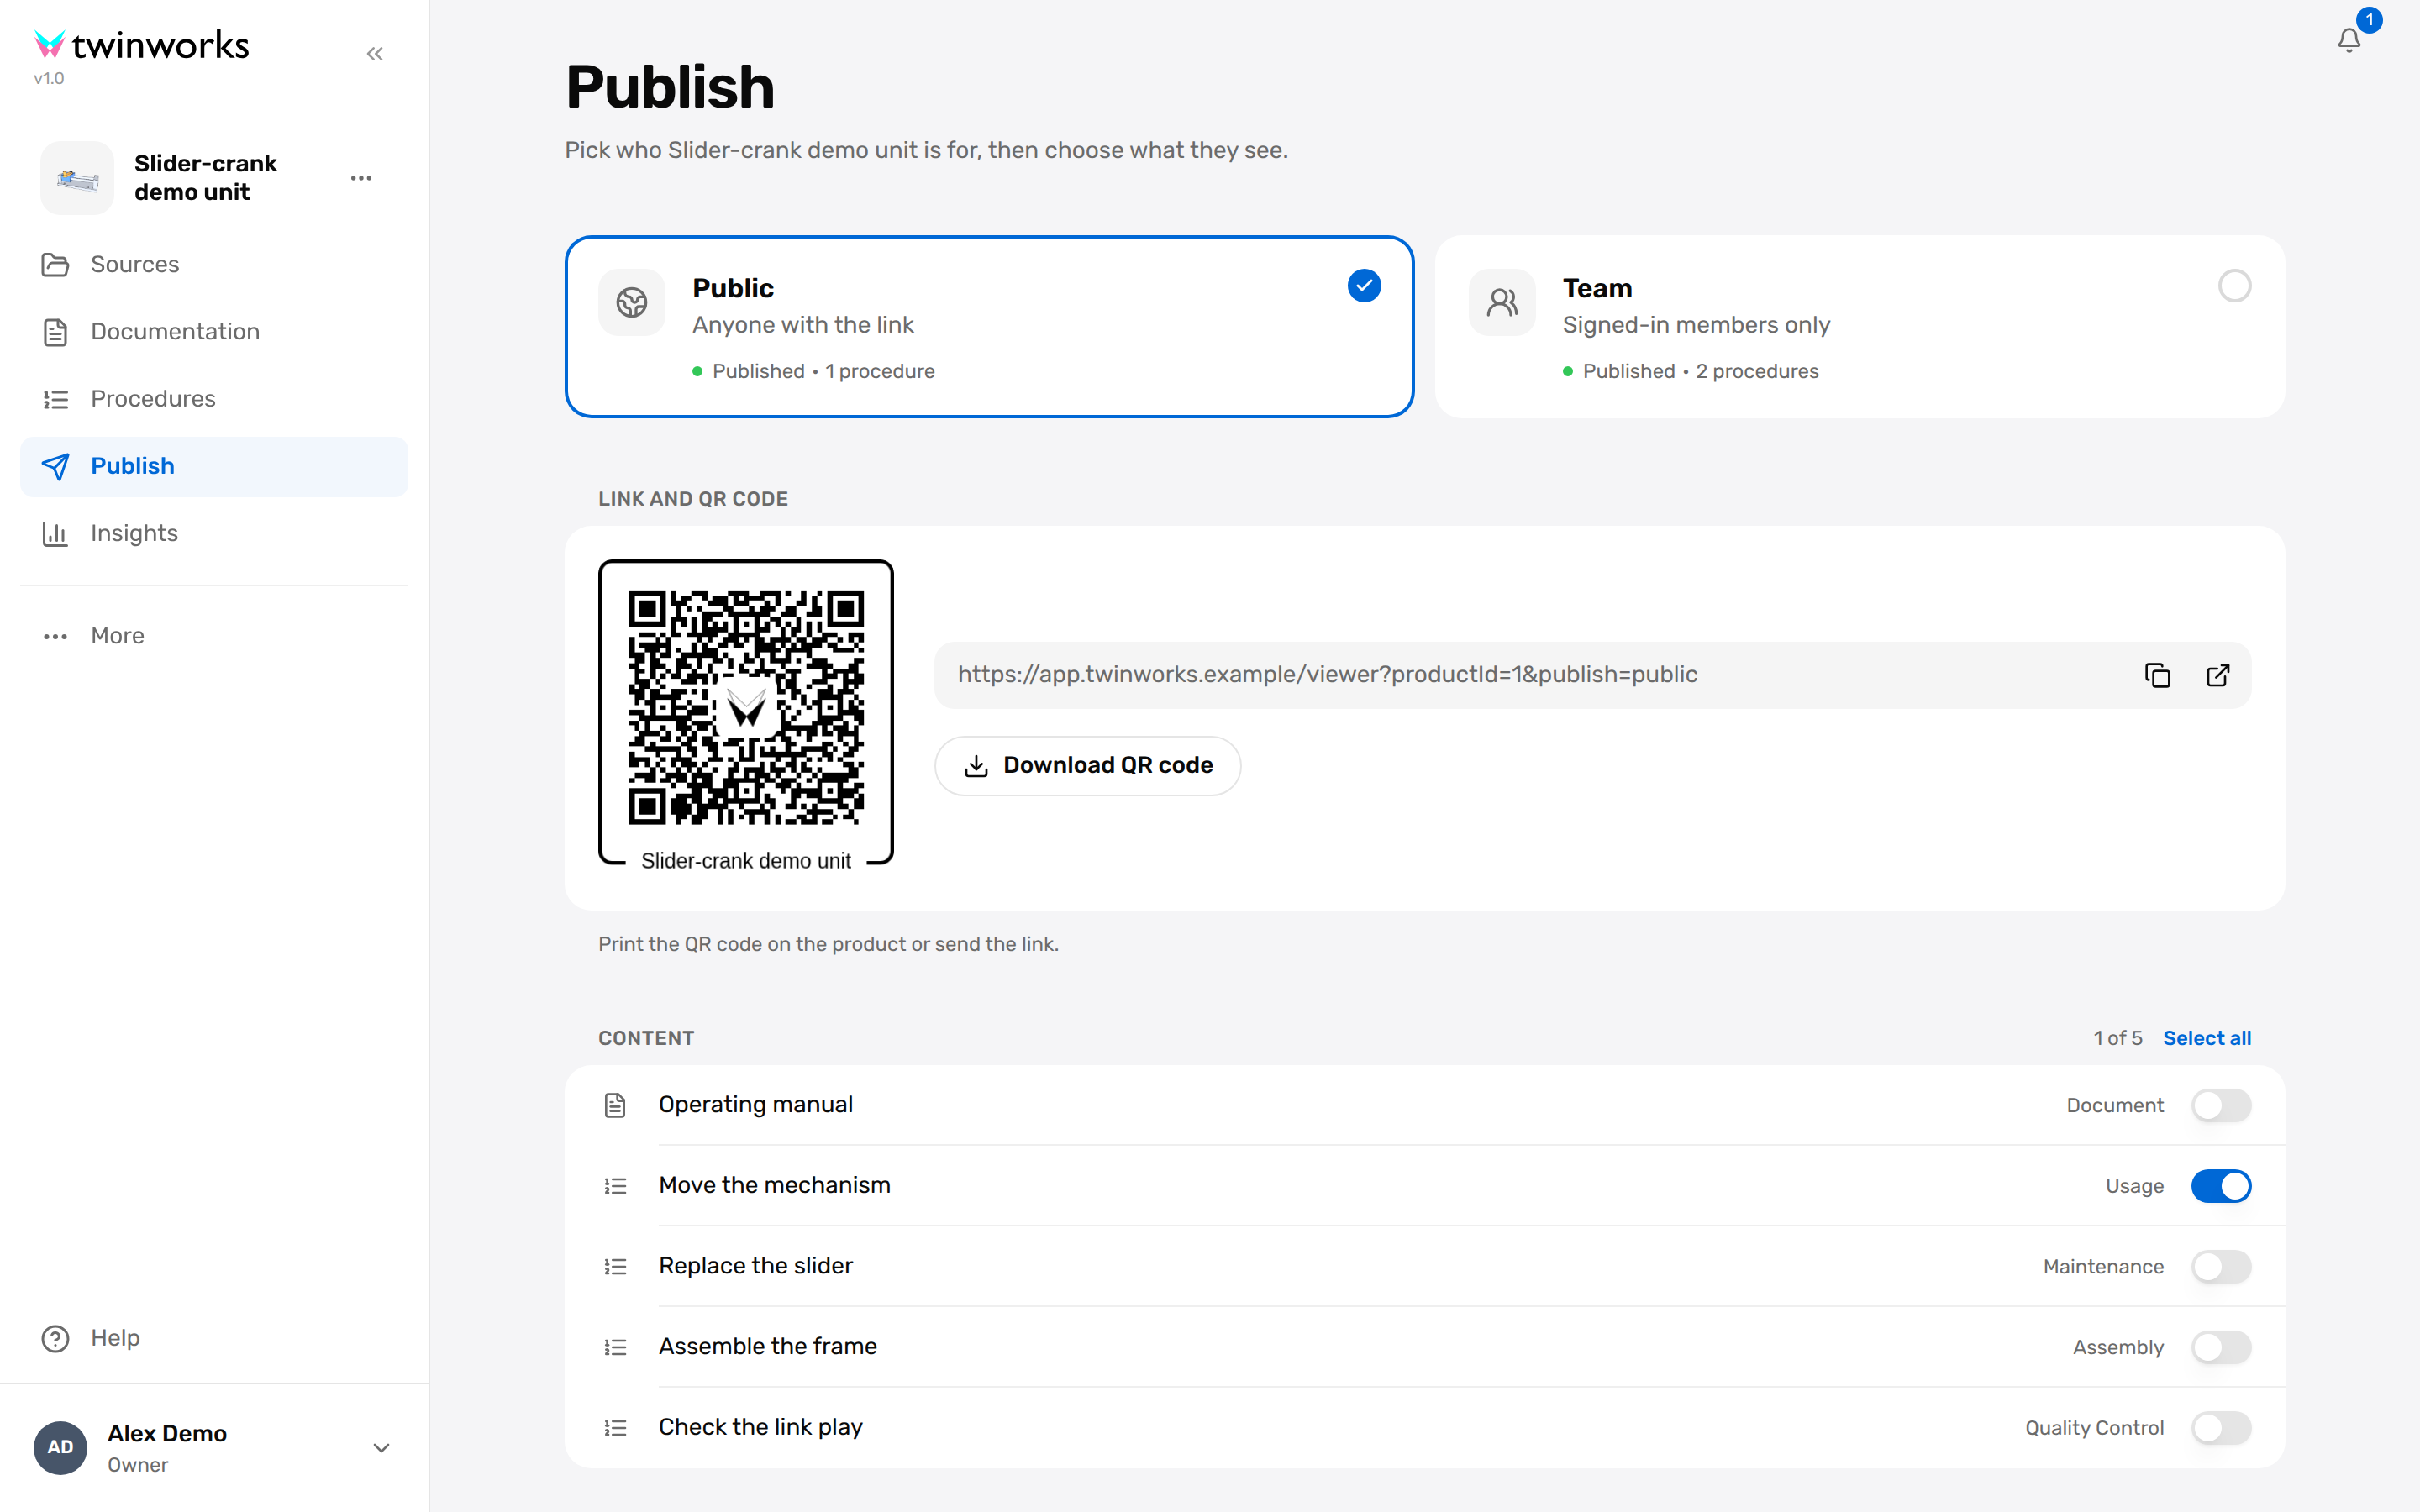
The same procedure can be public only, private only, both, or unpublished.
- Open the correct tab.
- Find the procedure in the list at the top of the page.
- Turn the procedure on or off for that tab.
- Repeat for the other procedures you need to change.
- Click Save.
Keep Replace Internal Fuse in Private only, but enable Install Battery in Public and Private.
Add Viewer Languages
Add or update viewer languages
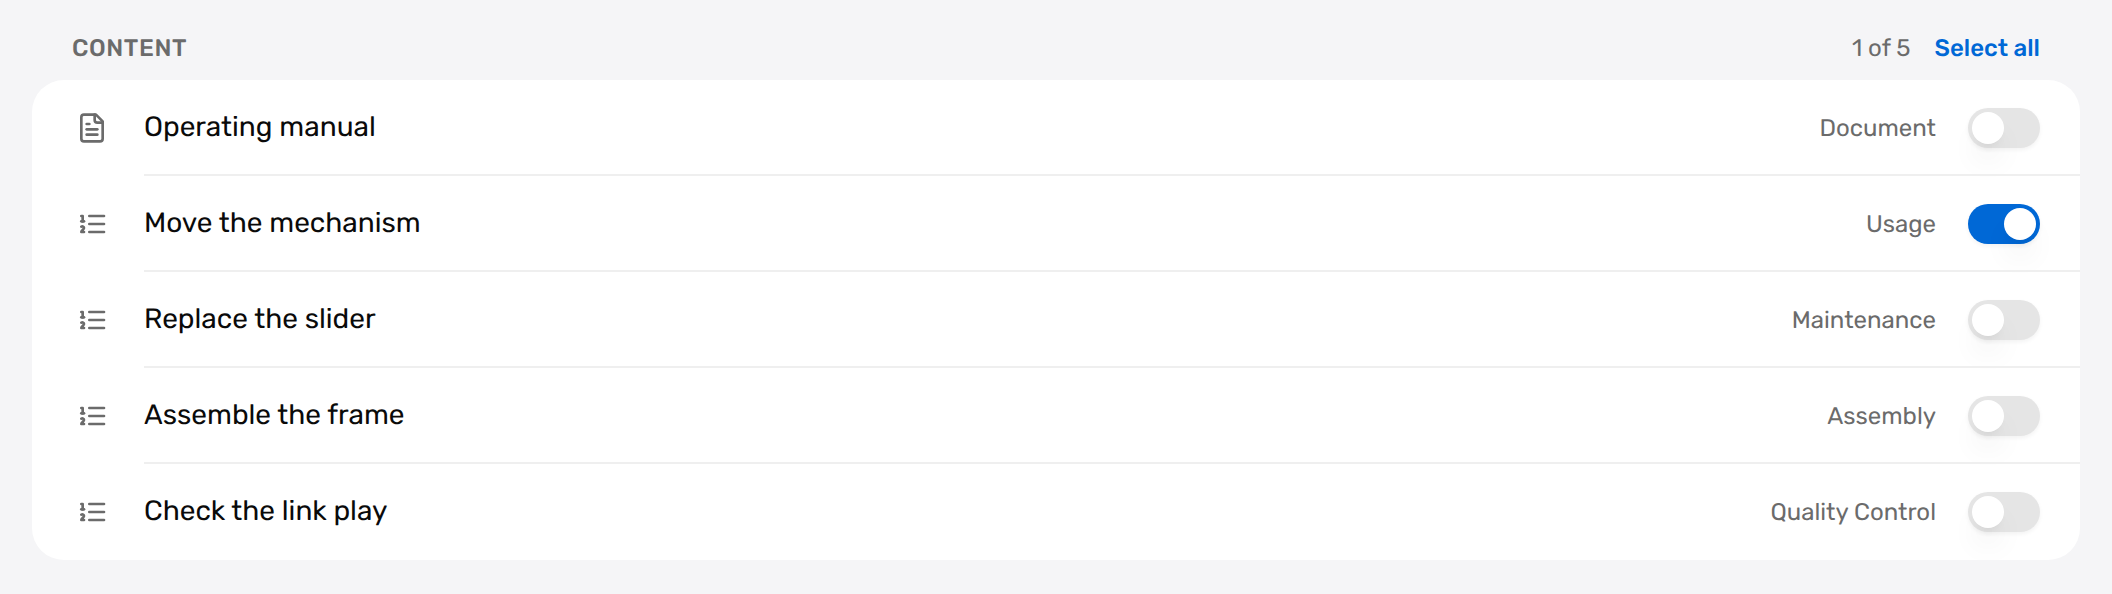
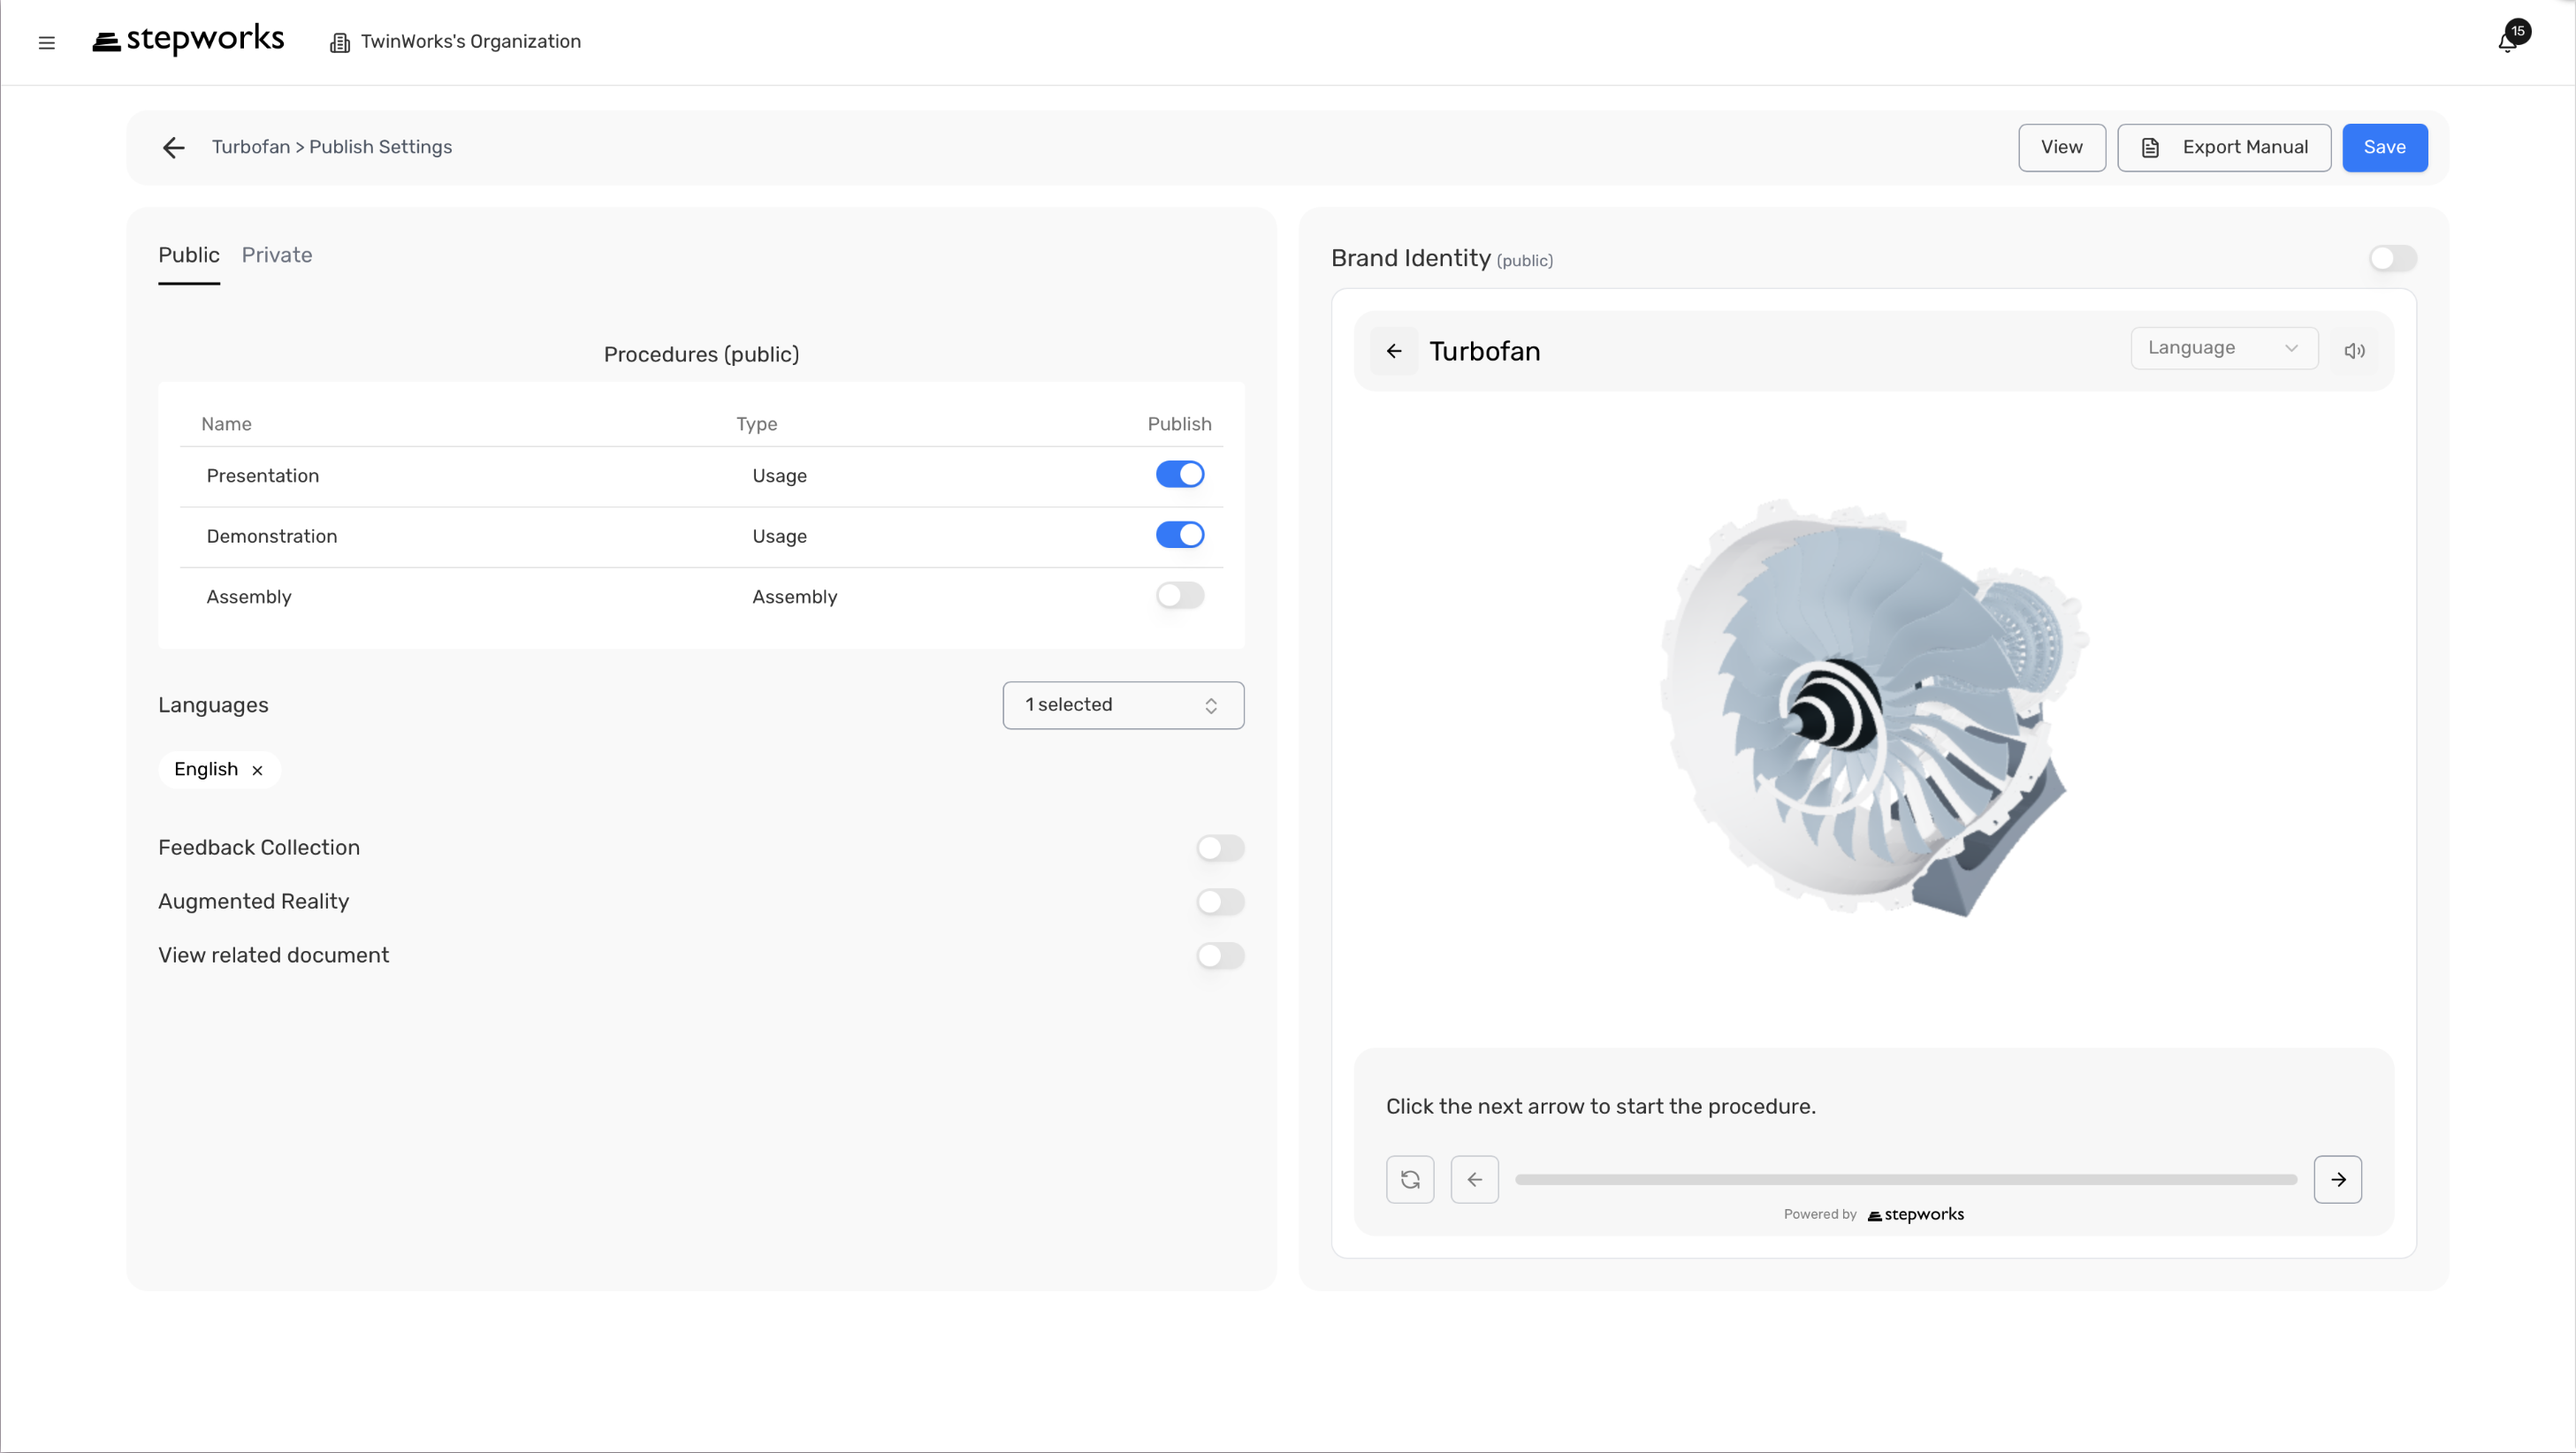
Each tab has its own language list.
- Open the Public or Private tab.
- In the language section, add the languages you want viewers to use.
- Click Save.
- Wait while TwinWorks generates translations in the background.
Add French and Spanish to the Public tab if the same public procedure must be consumed by multiple language groups.
The selected tab exposes those viewer languages after translation completes.
Configure Viewer Options
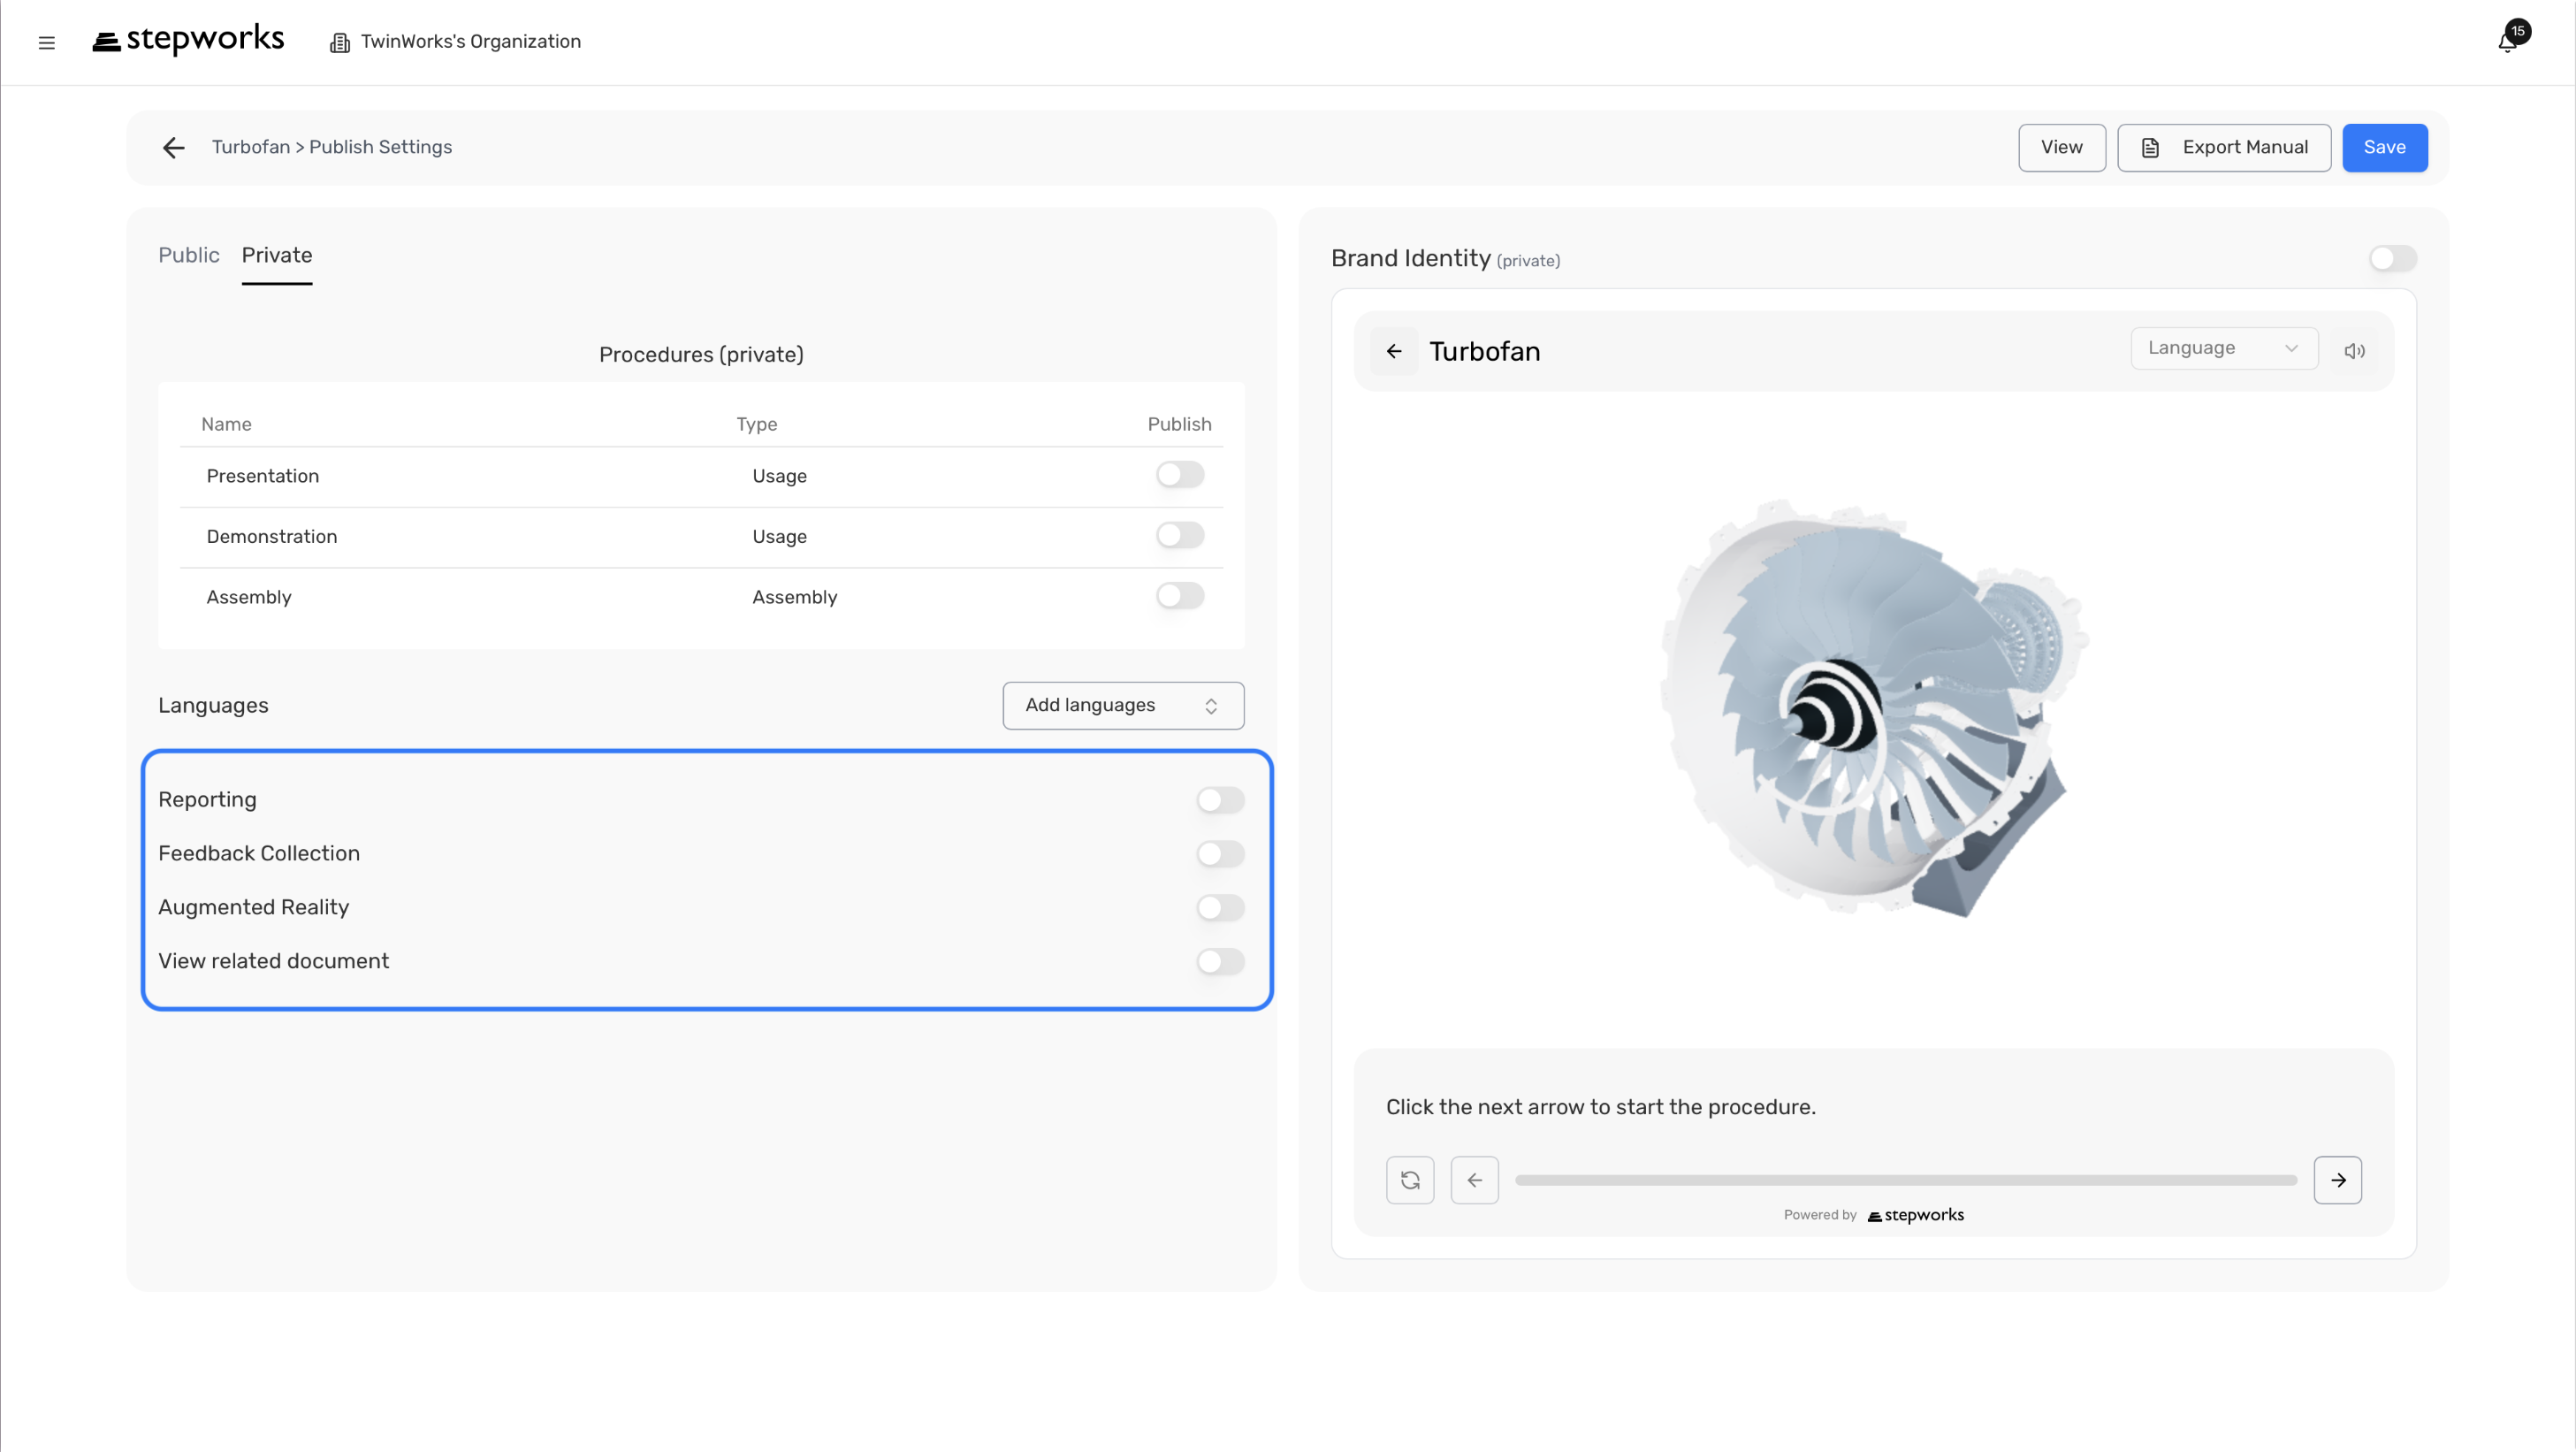
Public Tab
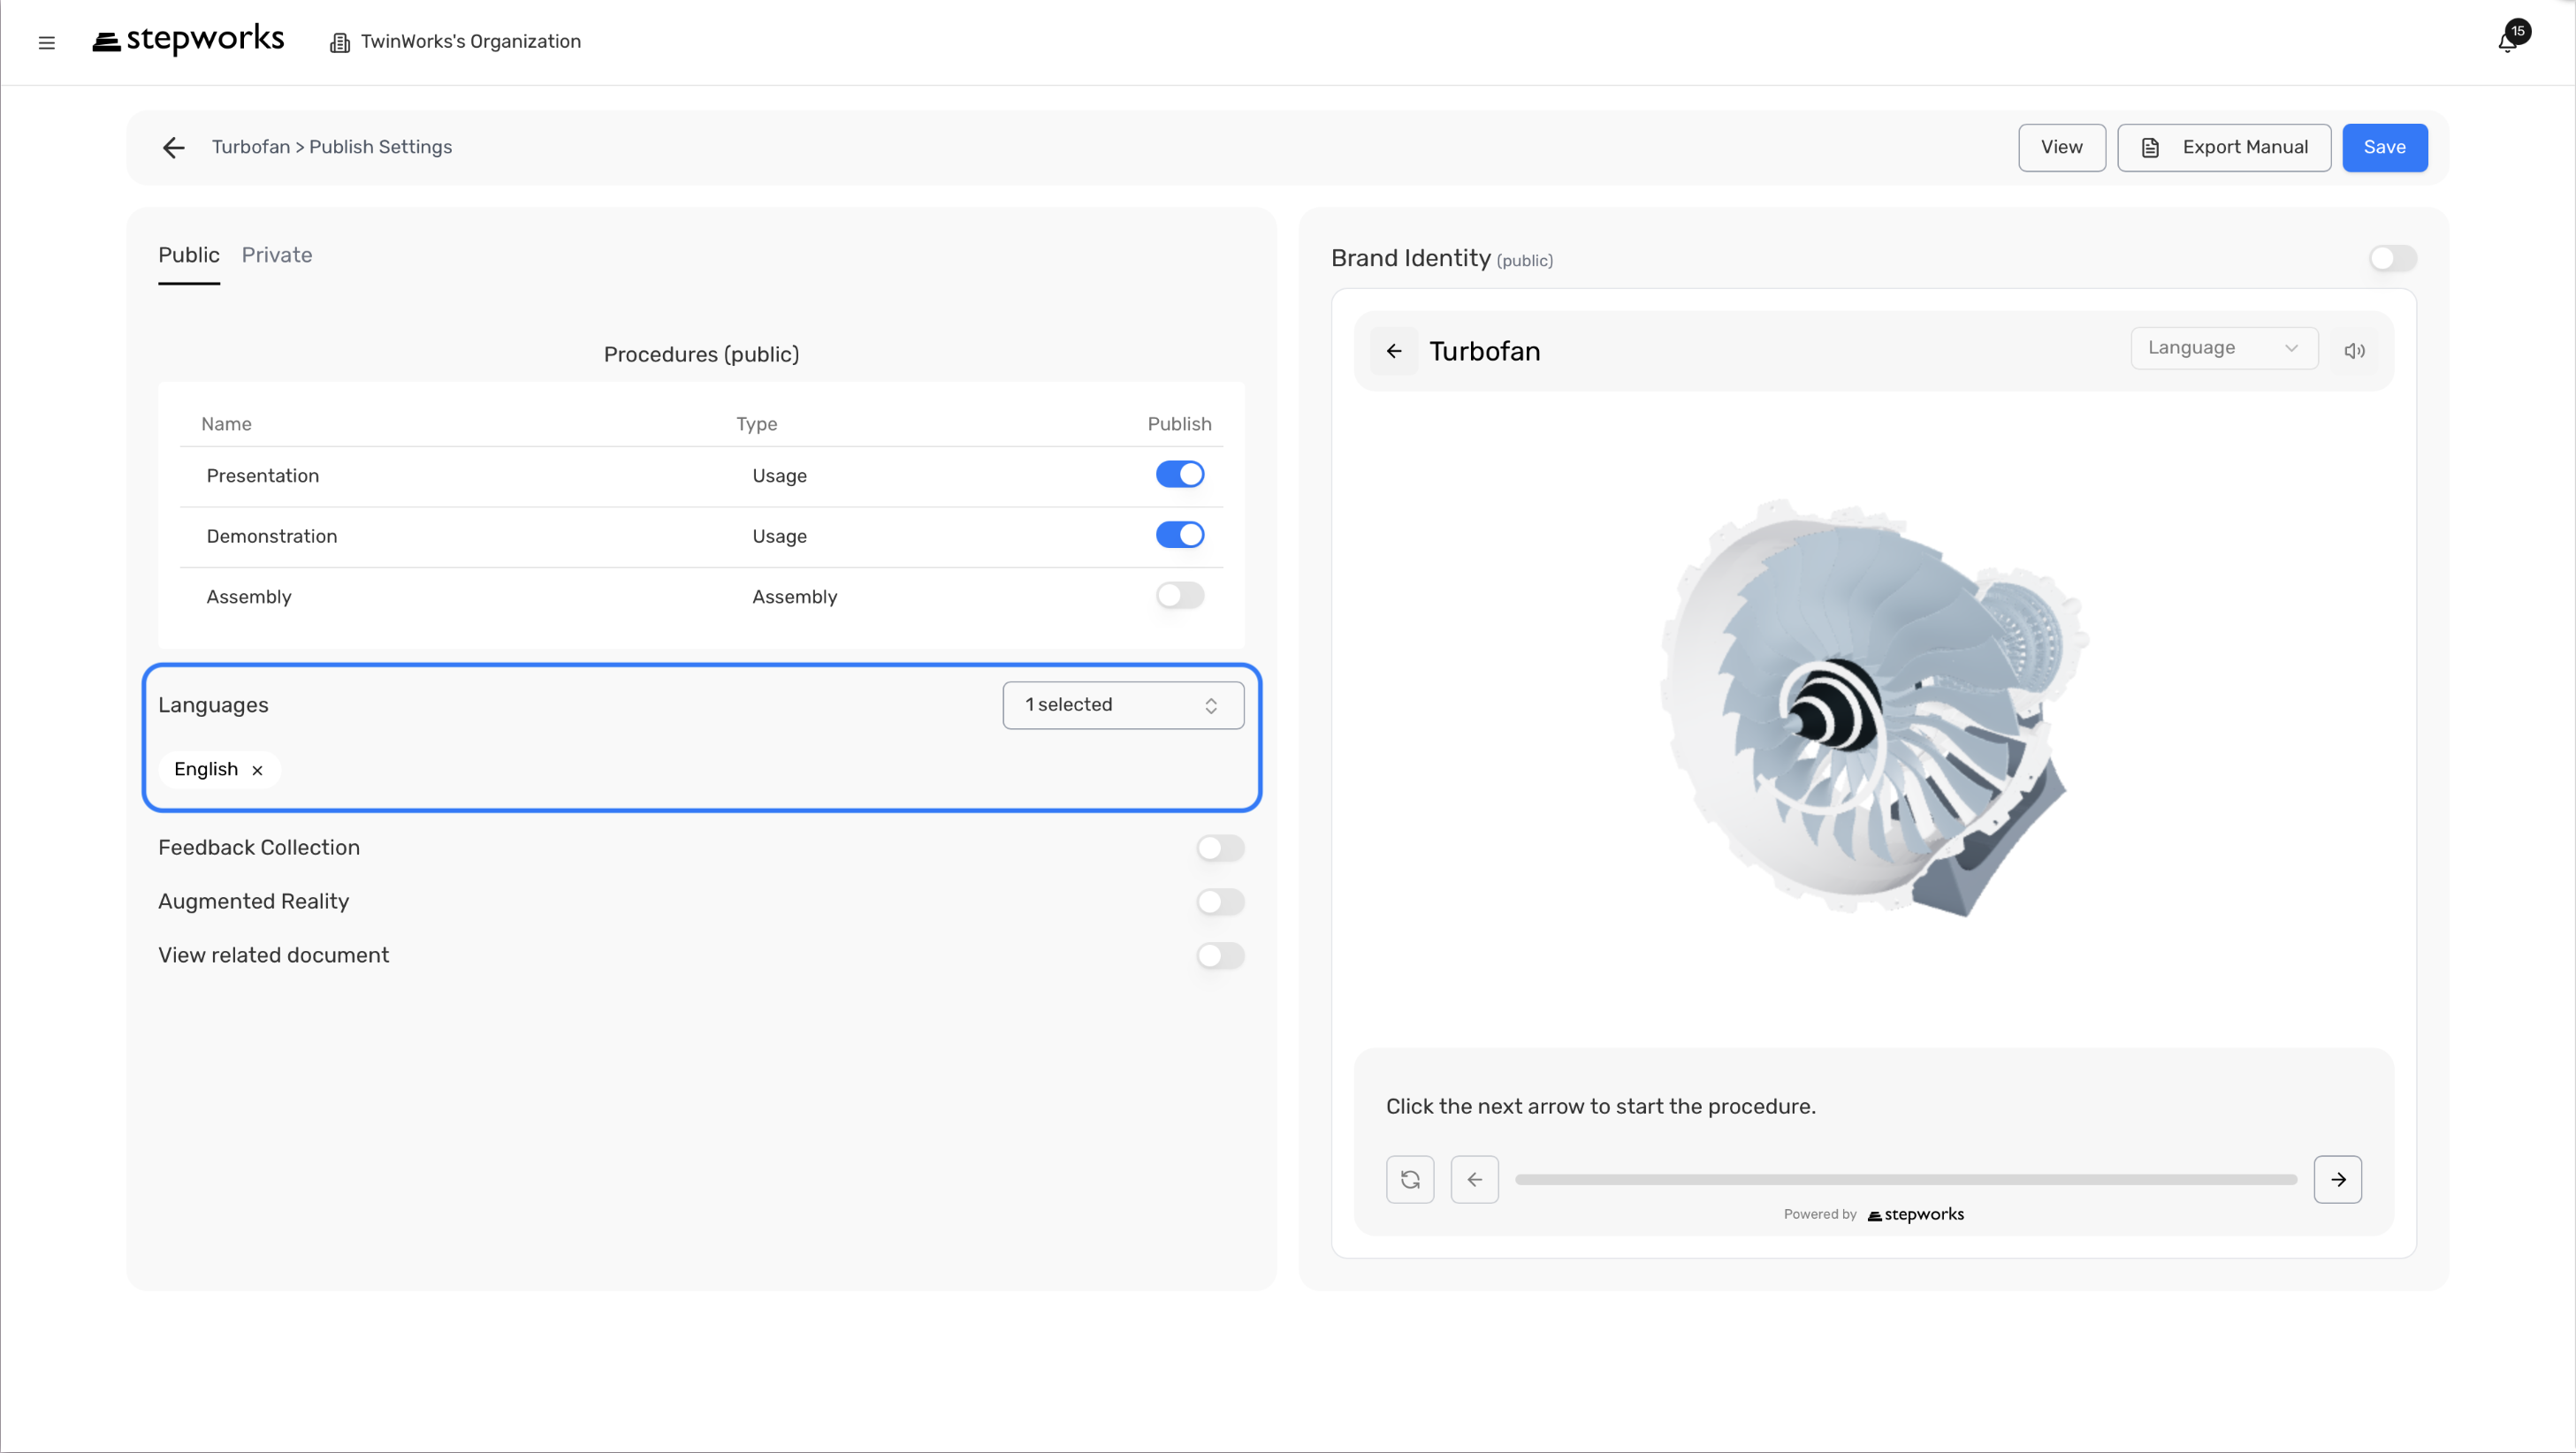
The public tab currently supports:
- Feedback Collection
- Augmented Reality
- View related document
- Branding
Private Tab
The private tab currently supports:
- Reporting
- Photo Reporting
- Feedback Collection
- Augmented Reality
- View related document
- Branding
Photo Reporting depends on Reporting.
Turn viewer options on or off
Viewer options are also saved per tab.
- Open the tab you want to edit.
- Turn the relevant options on or off.
- If you enable Photo Reporting, make sure Reporting is also enabled.
- Click Save.
In the Private tab, enable Reporting and Photo Reporting for field-service procedures that require evidence. In the Public tab, leave reporting off and use View related document instead.
Use The Product Assistant In The Viewer
Ask questions while viewing a published procedure
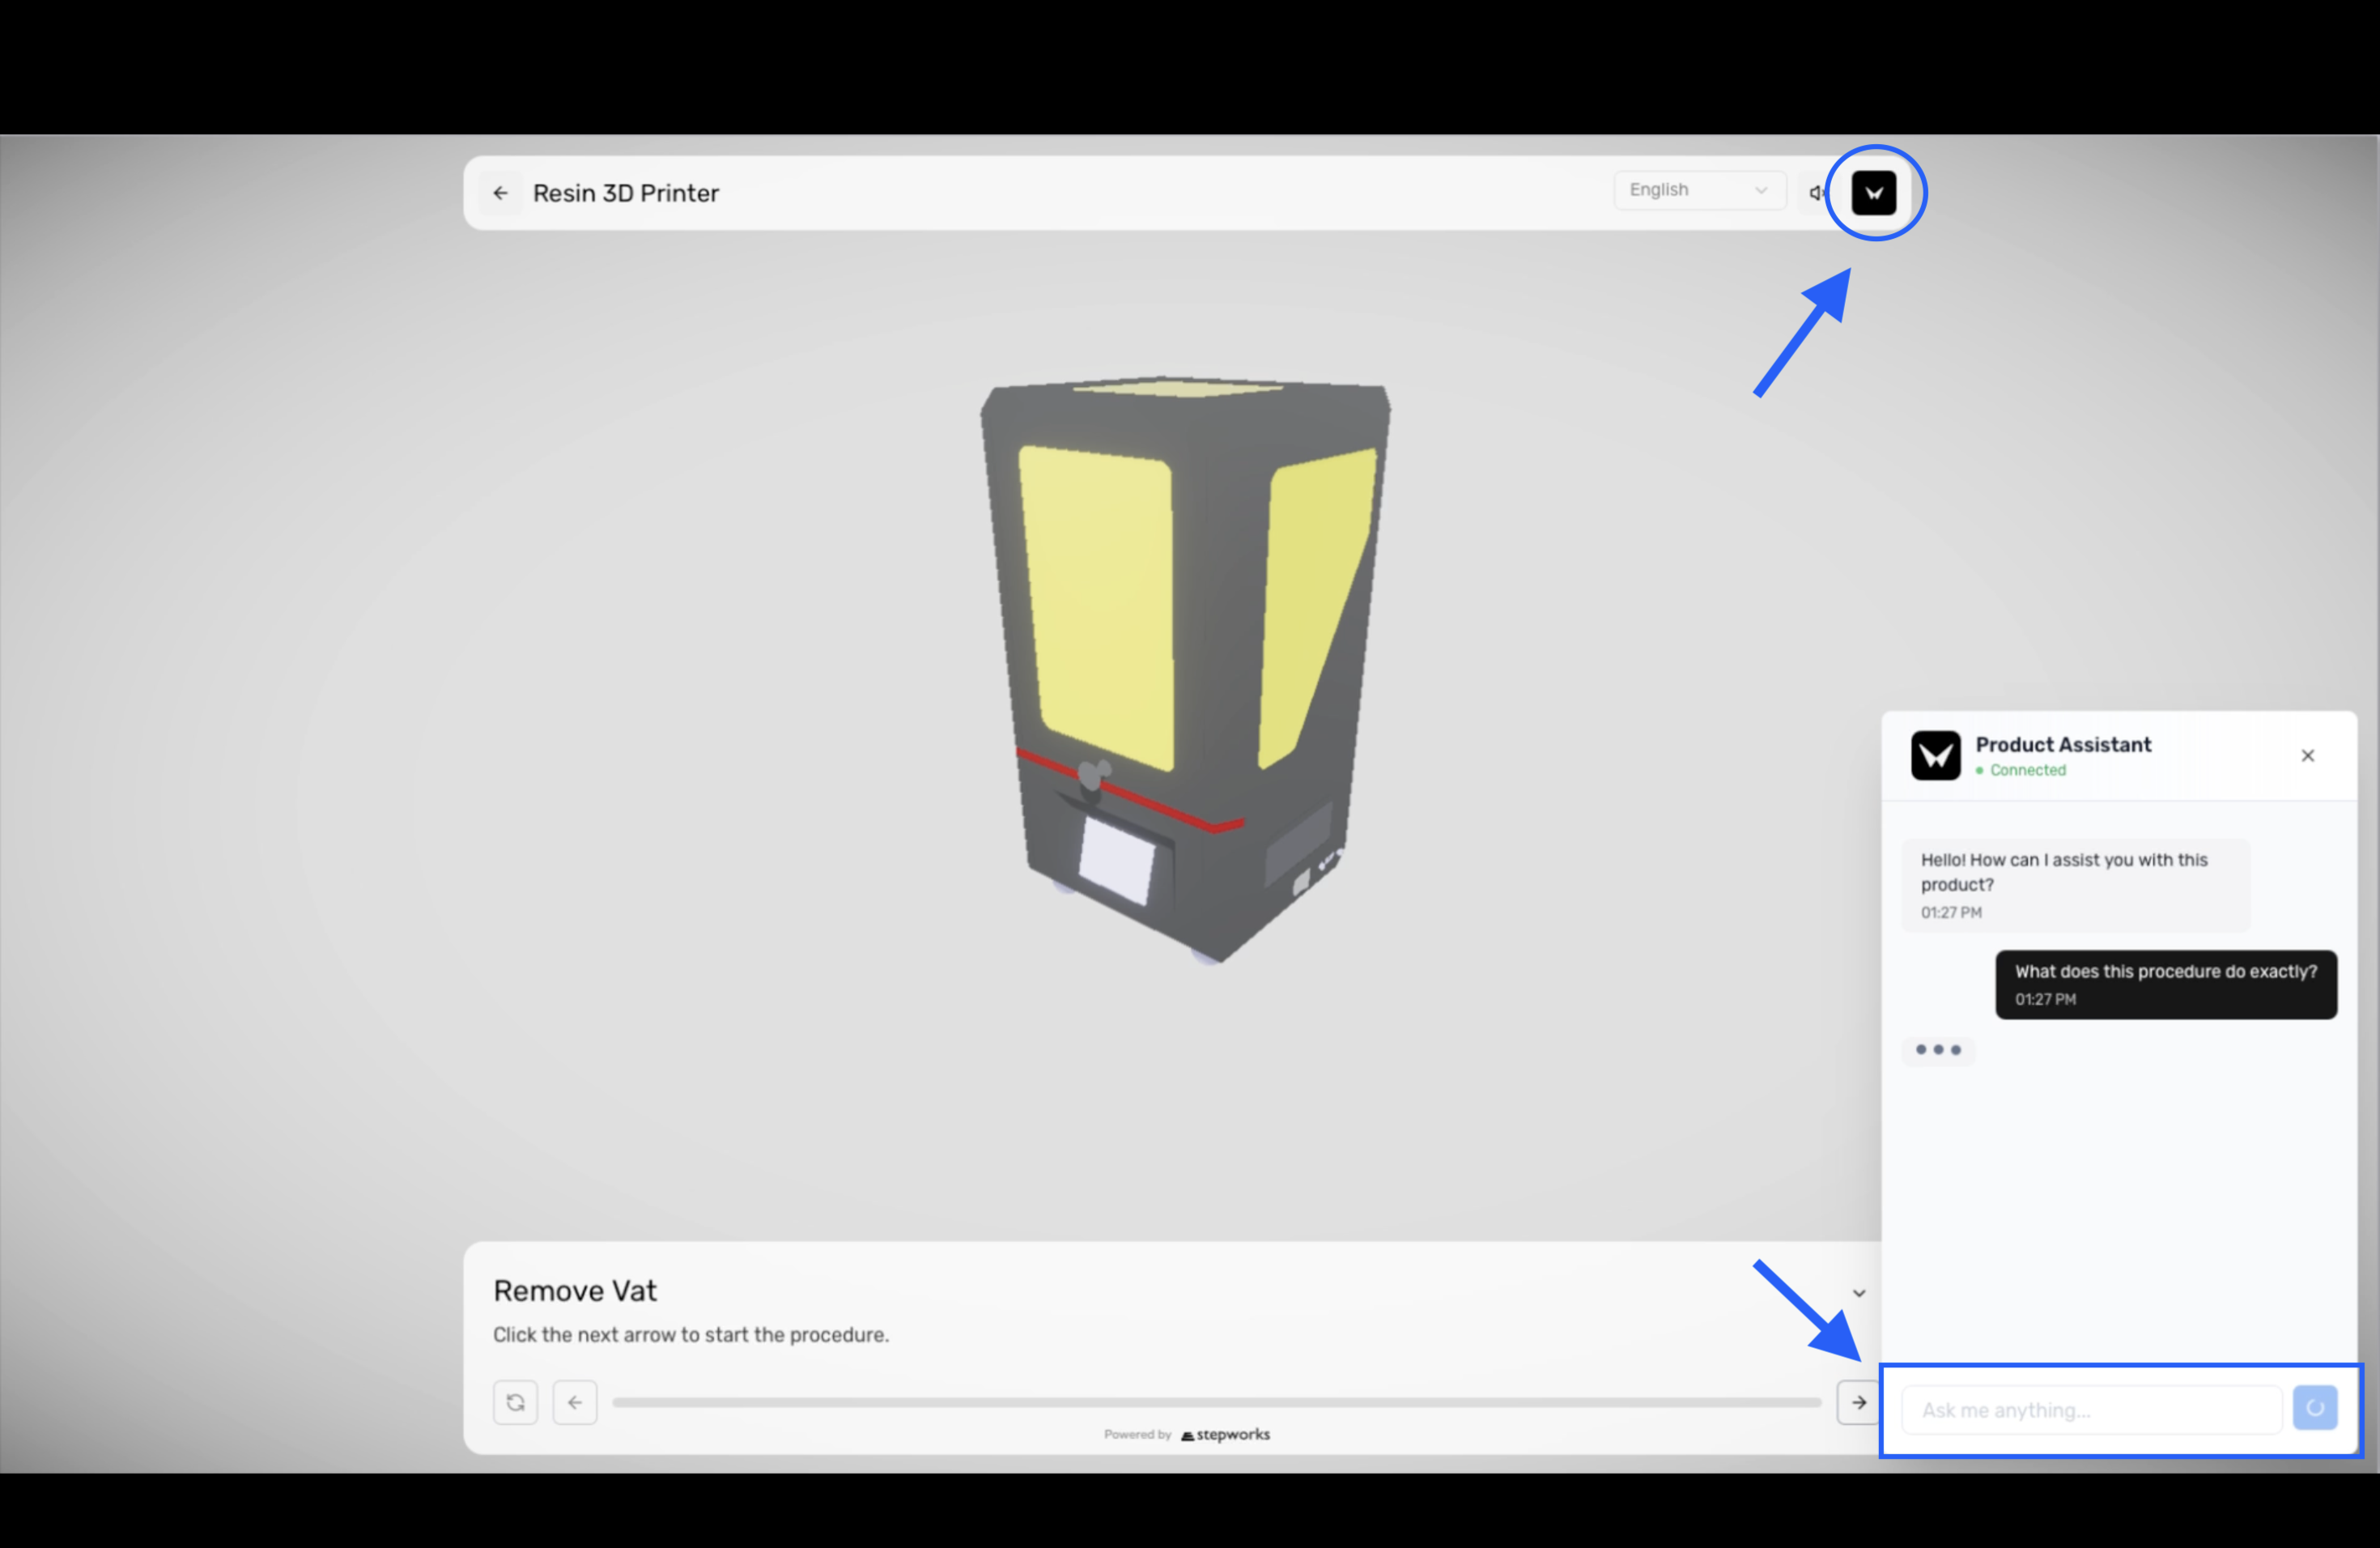
If the viewer assistant is available in your workspace, viewers can open it from the black Tina button in the viewer bar.
- Open a published procedure from a public or private viewer link.
- In the viewer bar, click the black assistant button with the Tina icon.
- Type your question about the current product or procedure.
- If needed, click the + button to attach an image from the gallery or take a photo.
- Send the message and review the answer.
- Open the cited sources in the reply when you need to verify where the answer came from.
Ask: Which step shows the battery connector removal? or attach a photo and ask: Is this the correct orientation for the cover before I continue?
The viewer gets contextual help without leaving the published procedure.
Configure Branding
The brand editor currently supports:
- background color
- card color
- text color
- accent color
- logo upload
Use separate public and private branding when public-facing procedures need a different look from internal procedures.
Export A Product Manual
Export the procedures from one publishing tab
Manual export uses the procedures selected in the currently active tab.
- Open the correct tab.
- Confirm the published procedure list in that tab.
- In the page header, click Export Manual.
- Choose PDF or Word.
Export a public PDF manual for customer onboarding, but export a private Word manual for internal maintenance review.
Related Workflow
After publishing: